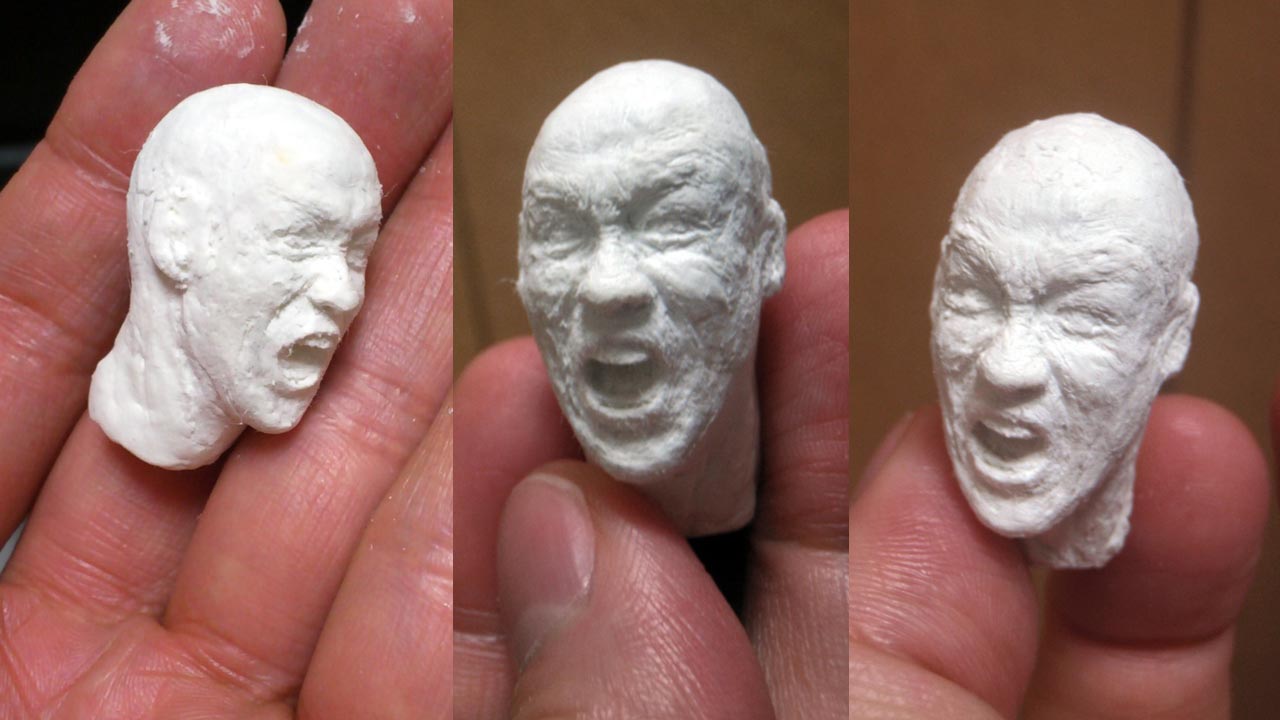
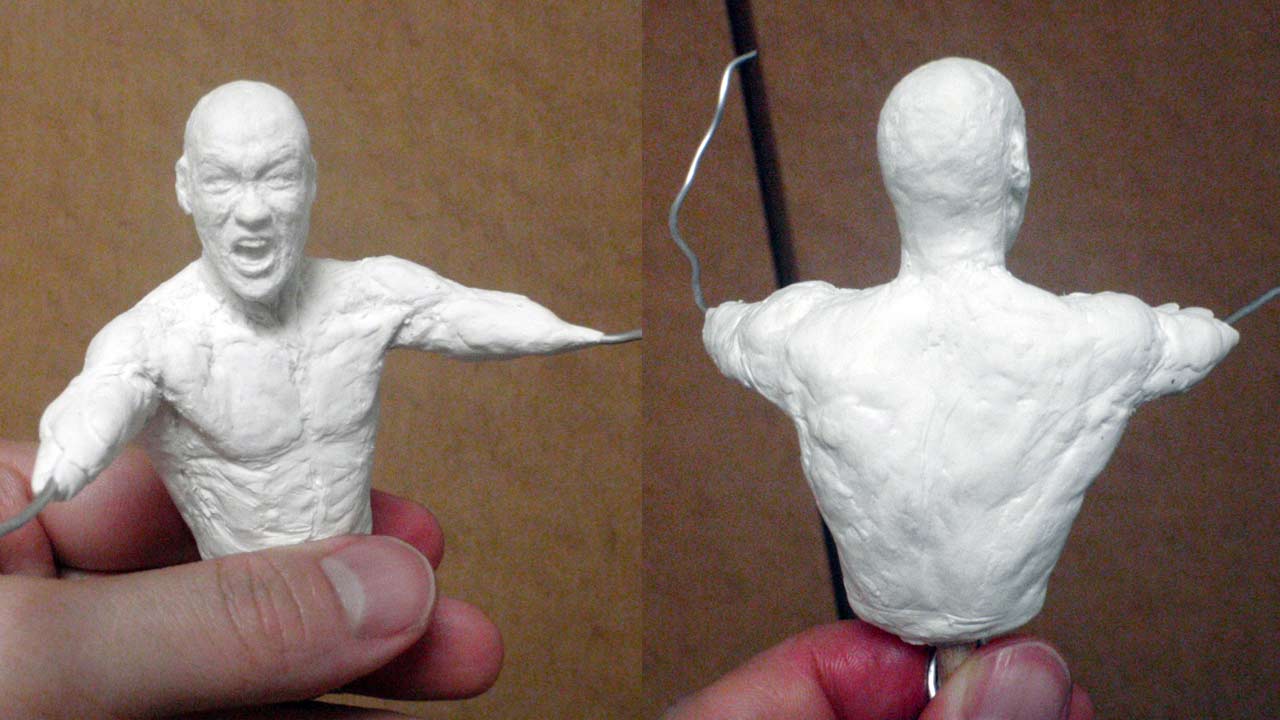
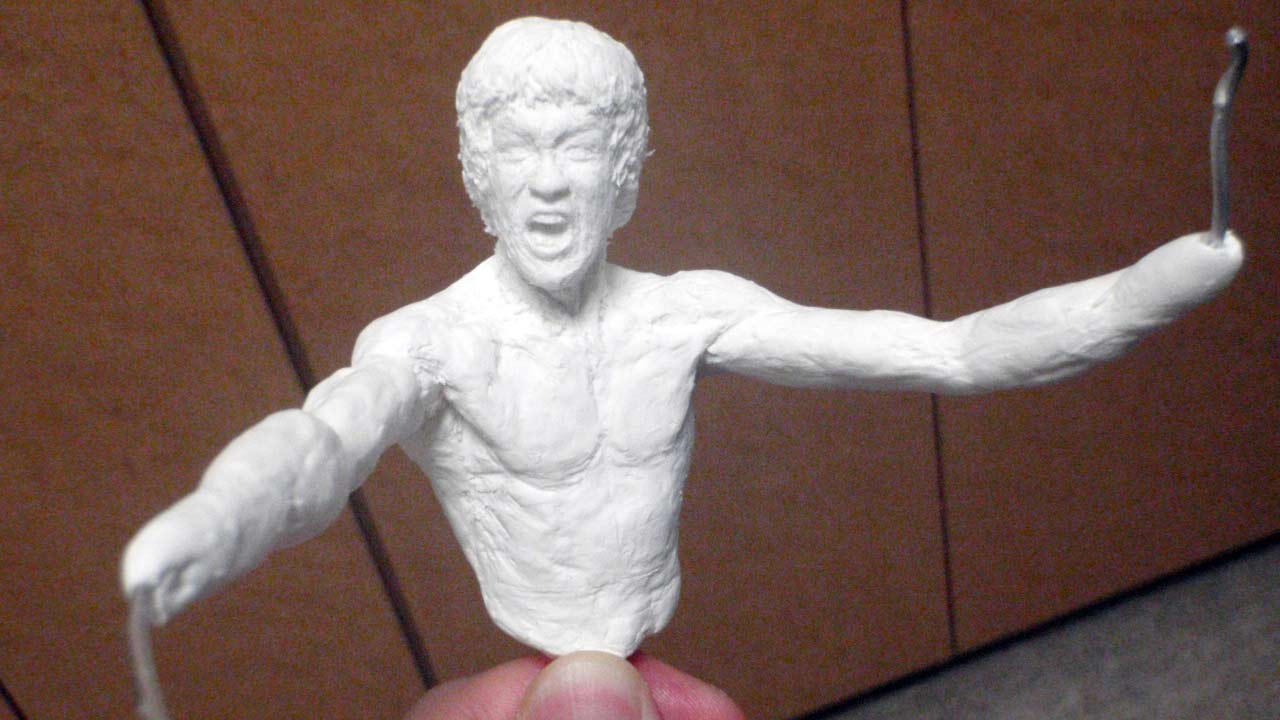
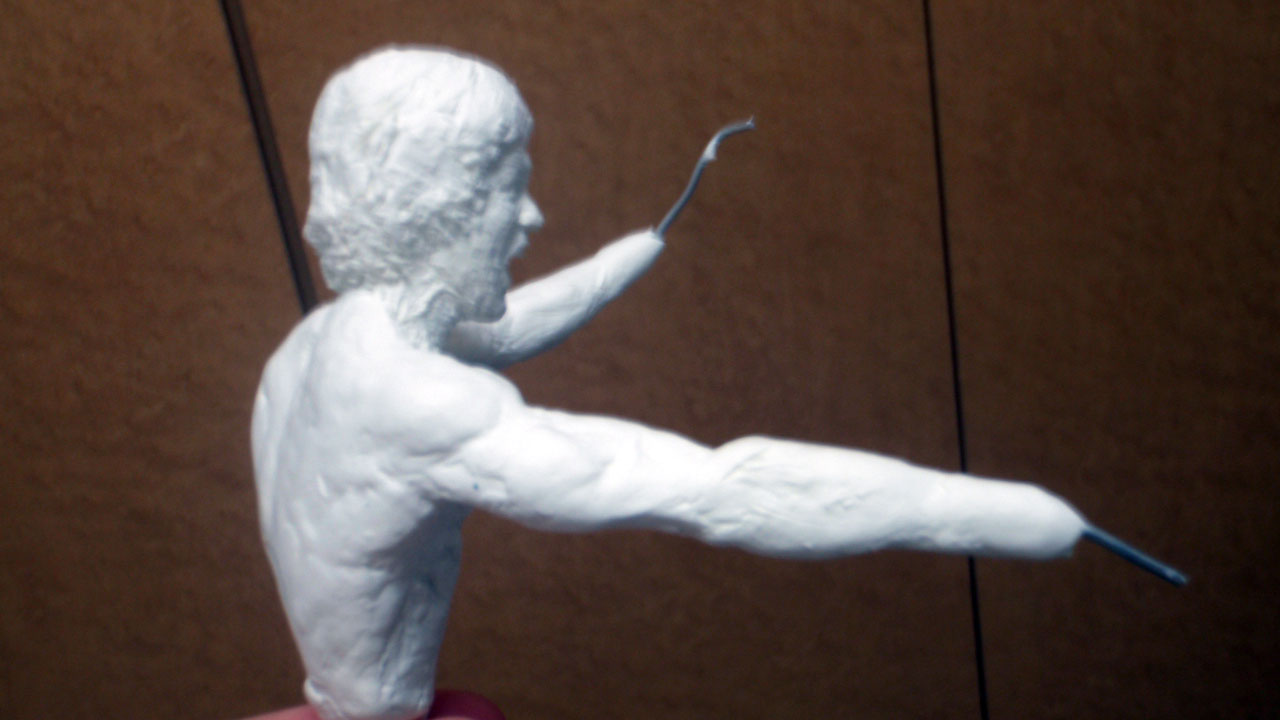
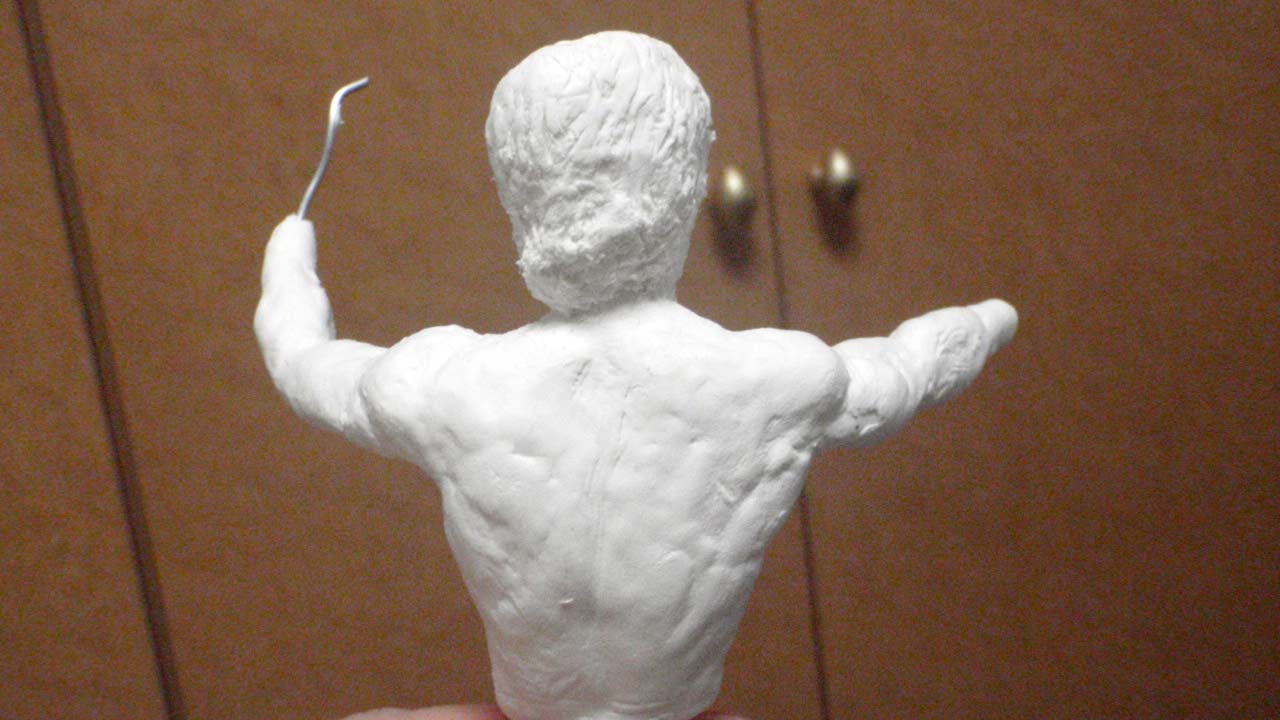
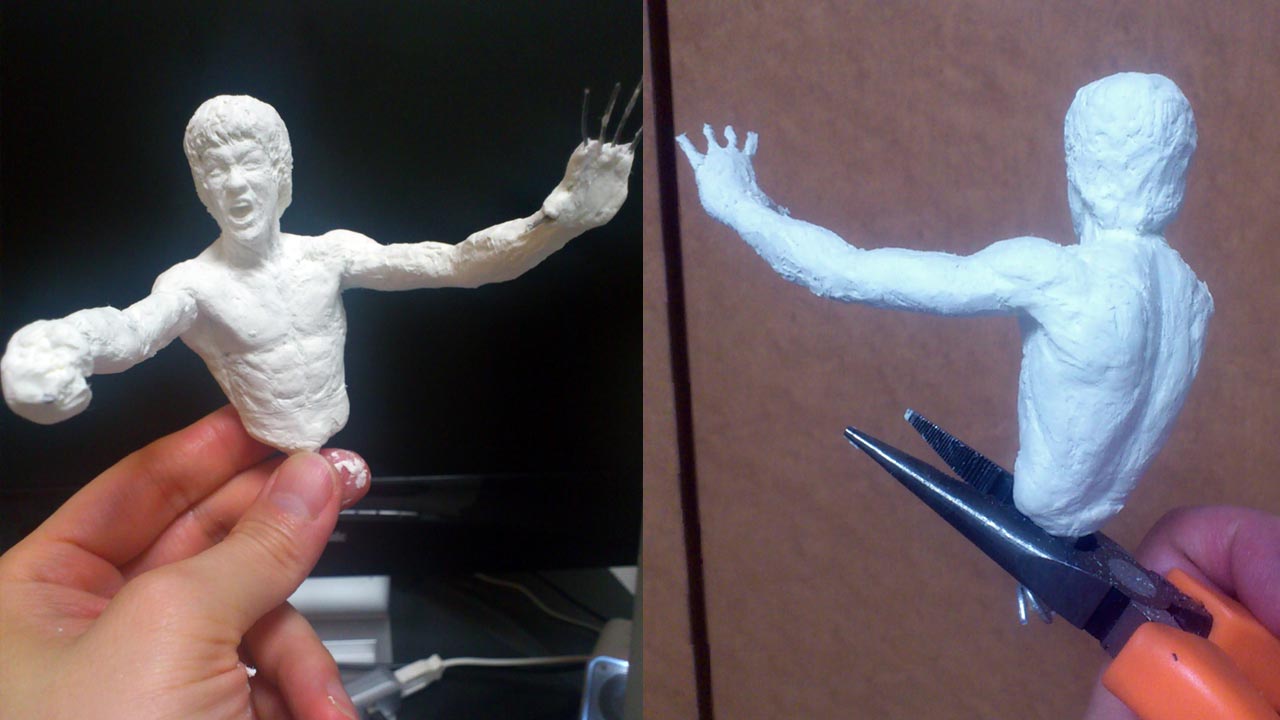
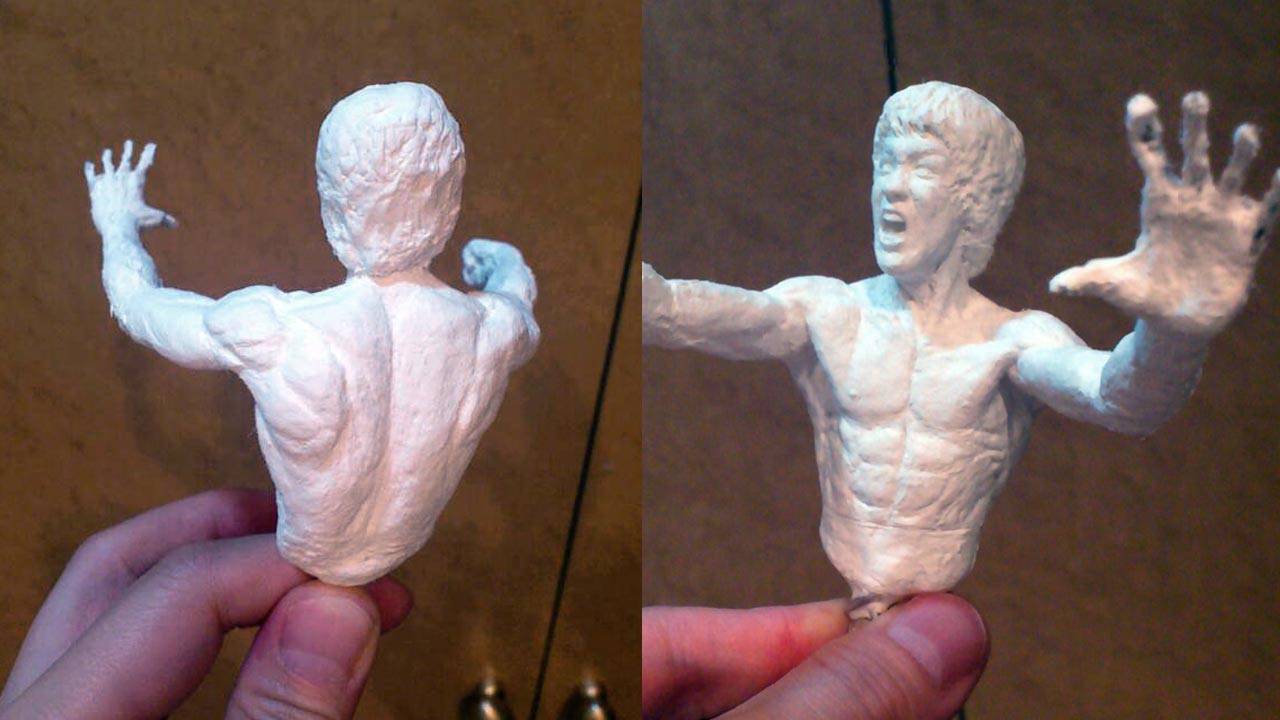
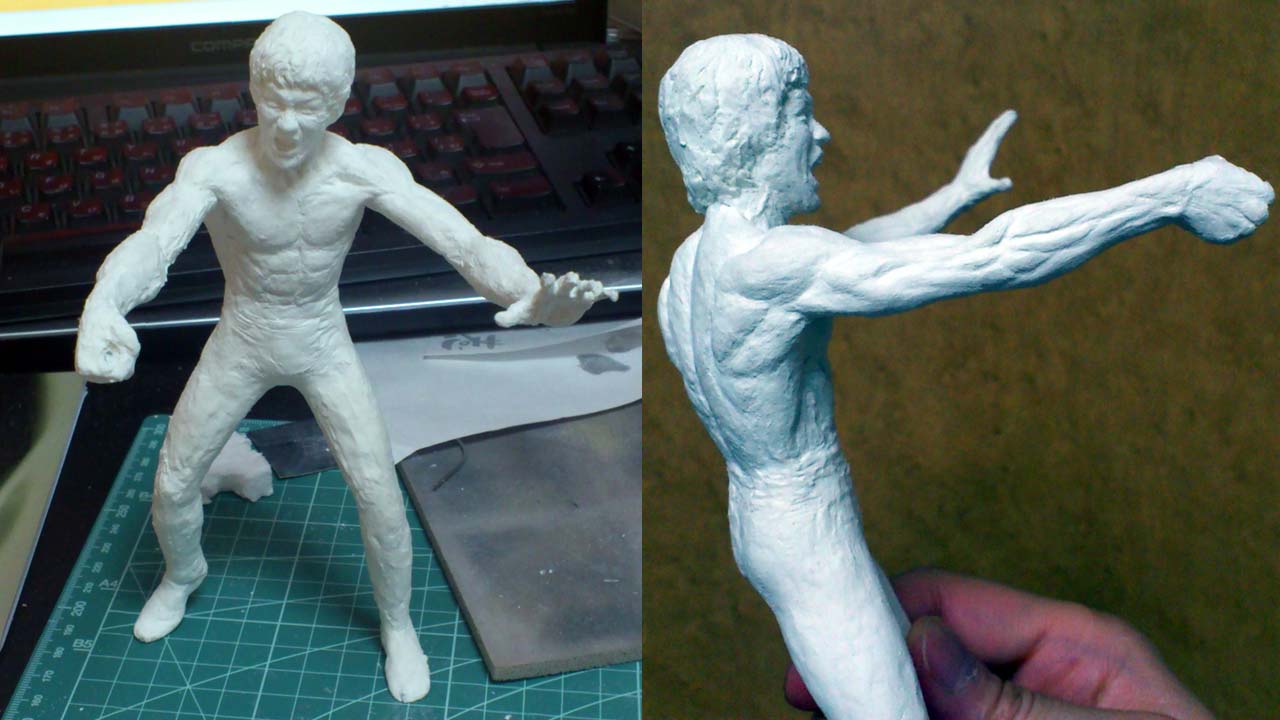
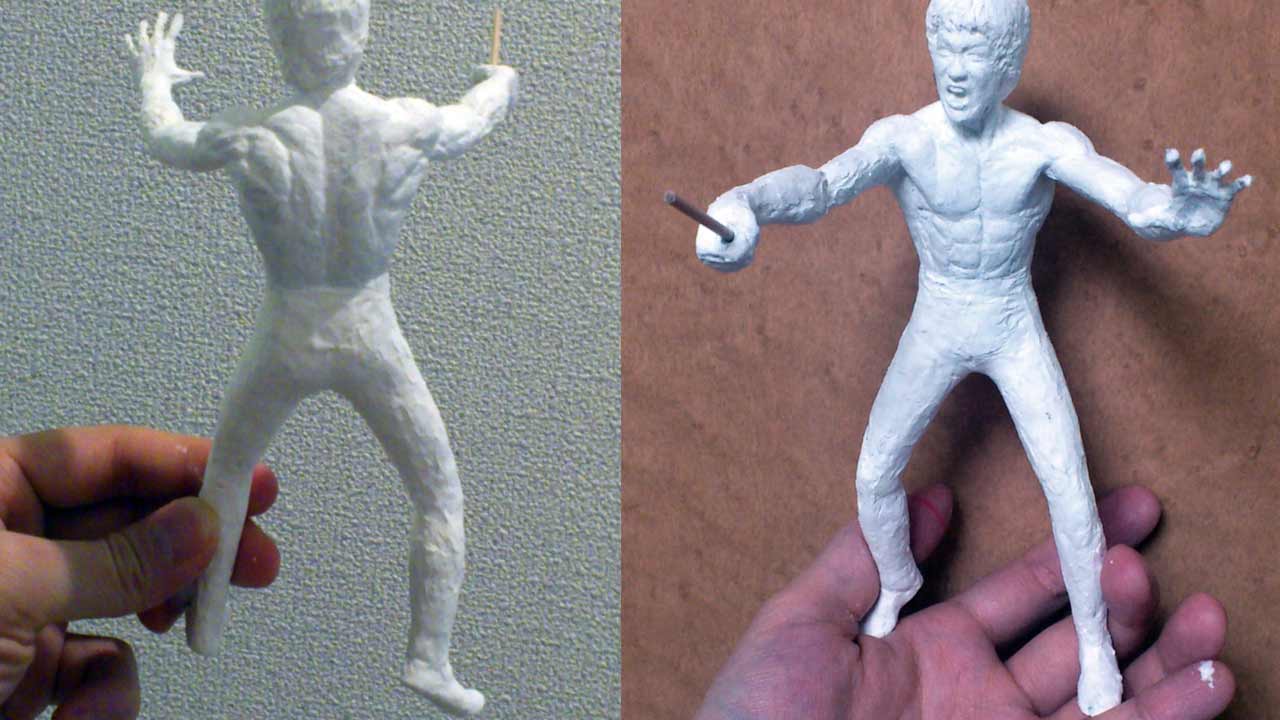
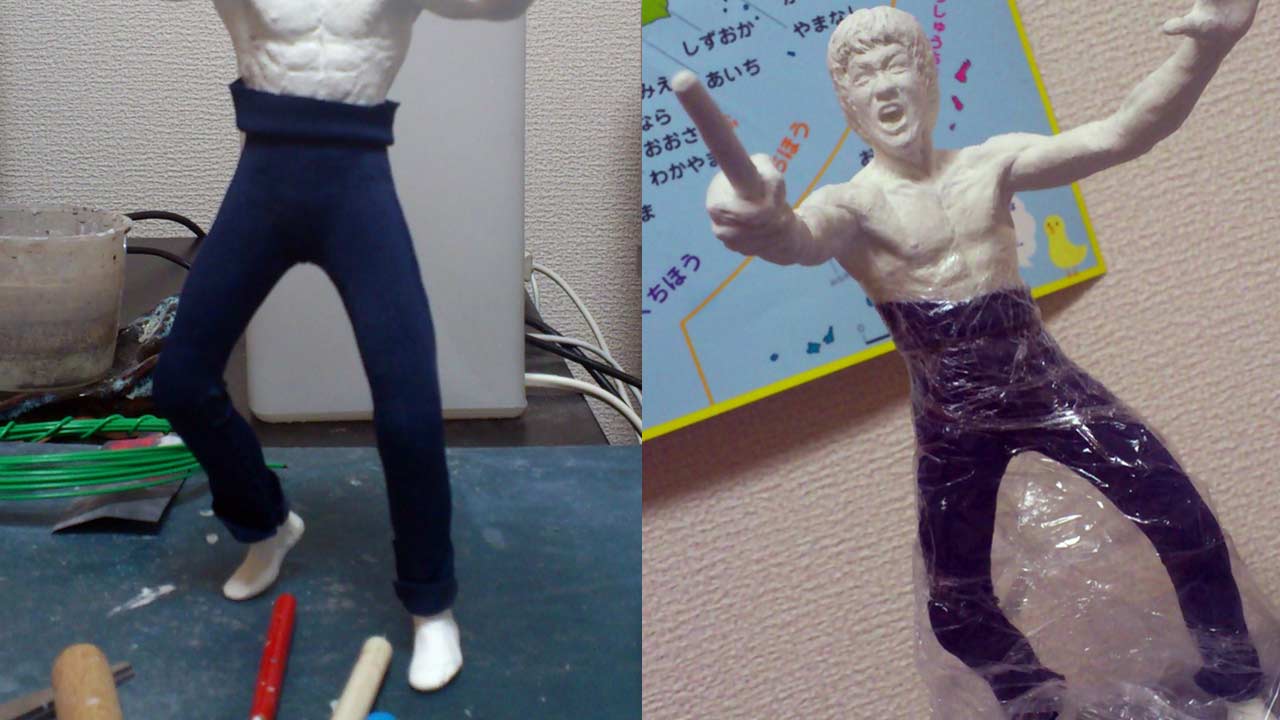
PAGE ONE: THE MAKING OF MISTER LEE, A PHOTO JOURNAL.
Using Padico's LaDoll series Premier stone clay to sculpt the head and facial expression. When dried (1-3 hours depending on density) can be carved, sanded and polished to fine porcelain quality.
I decided not to use styrofoam for the armature wire coating merely to save on time. Also, styrofoam is incredibly messy and annoying with the little pellets clinging to your skin and clothes, etc.
Working only in stone clay is very liberating. I'm not thinking of hitting the styrofoam undercoating if I have to carve deep into the stone clay.
Nor worry about the temporary hair made in modeling clay as I did with other statues and it losing its shape with frequent handling and removal.
One aspect of using stone clay I can't emphasize more is I can grip tightly onto the piece while carving or sanding as if it were wood. No worrying about destroying details and leaving fingerprints.
Add water to an area and the stone clay moistens so attaching raw clay or dried clay is ideal. Refining the pose. Making sure the back muscles are correct. Bruce's back is more intricate than his front.
Why do I work in this scale? I find it a challenge to work small but making details and craftsmanship--big.
Pretty much locked down the pose. If it can stand on it's own well balanced, then it's ready to go to the next stage--clothing.
Still refining the back and overall pose. The uniqueness in this piece over most Bruce Lee statues ever made is that he is in motion shooting forth the nunchaku. The stand-in 'chuck was a toothpick.
The fine stretchy fabric used for the pants was found at a novelty shop in Japan--a lucha libre wrestling mask! I never know what I'll find that'll work at this scale and when I do, it's like shouting BINGO!
Don't hesitate to email me at martengo or via if you have any questions regarding my Mister LEE PD statue or work process. Especially if you are following these steps as a guide to making your own statue.