PAGE TWO: THE MAKING OF DANNY TORRANCE, A PHOTO JOURNAL.
Please excuse the horrible quality in these upcoming photographs. I didn't realize my camera lens was covered in a fine film of clay particles.
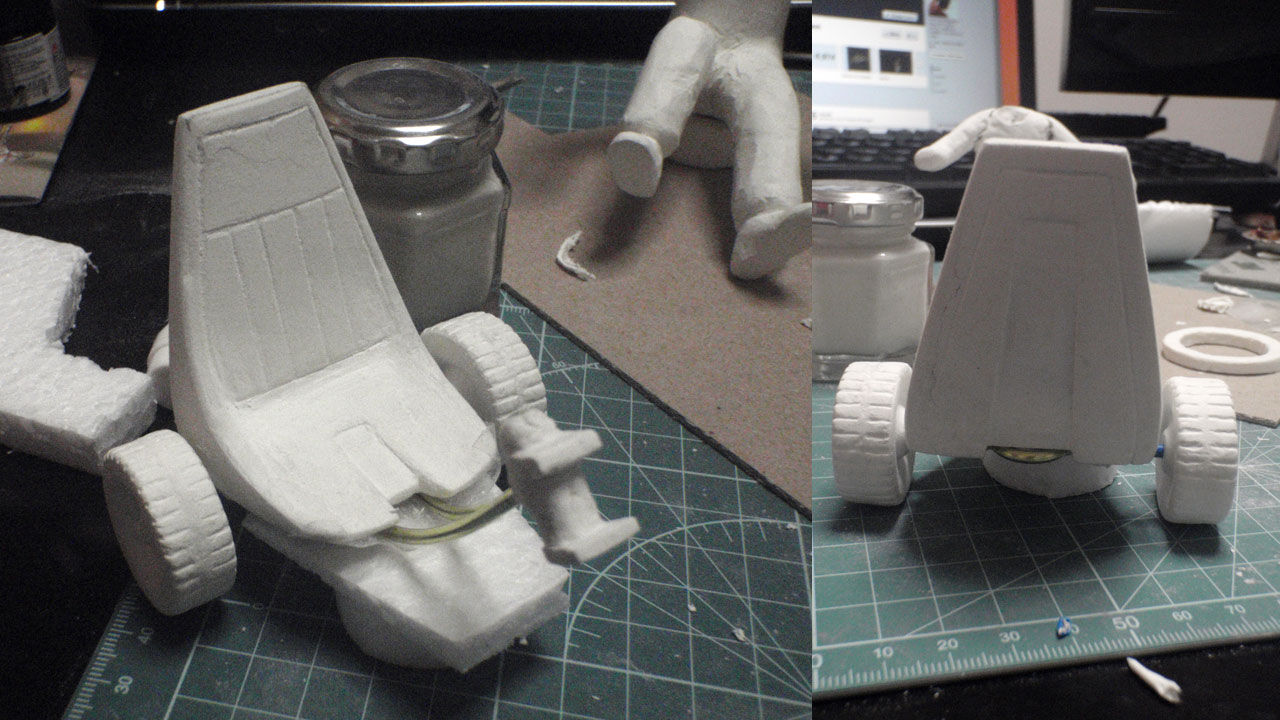
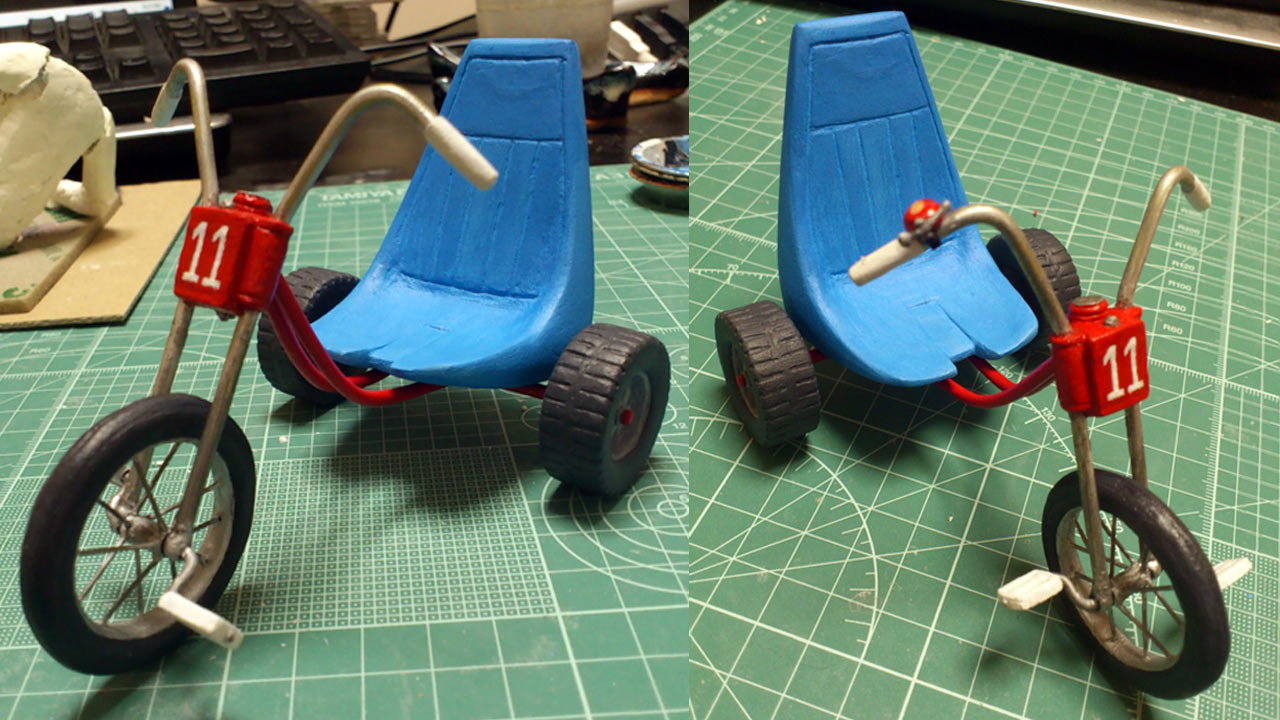
Anyhow, the tires are connected by a piece of coat hanger and glued to the seat. The tires can't actually roll, sorry. Now to add the gooseneck of the trike.
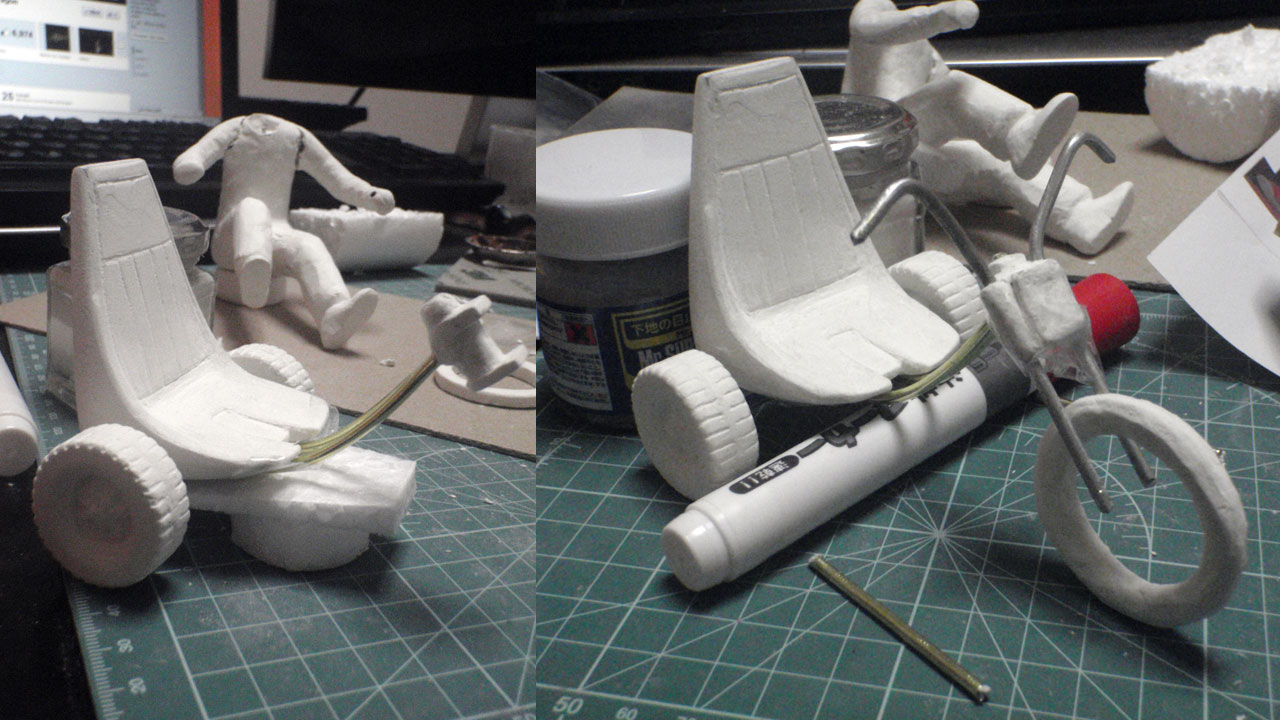
This part was quite daunting because there was no reference I could draw from in the movie. Never once do we see Danny's
trike from the front so it was my own engineering and design from here on. Once the aluminum handle bars were set in place along with the front tire, I was all smiles.
I just love scotch tape and styrofoam when crafting. This time, the styrofoam was used as a 'holder' to keep in place the front tire and handlebars that were glued together.
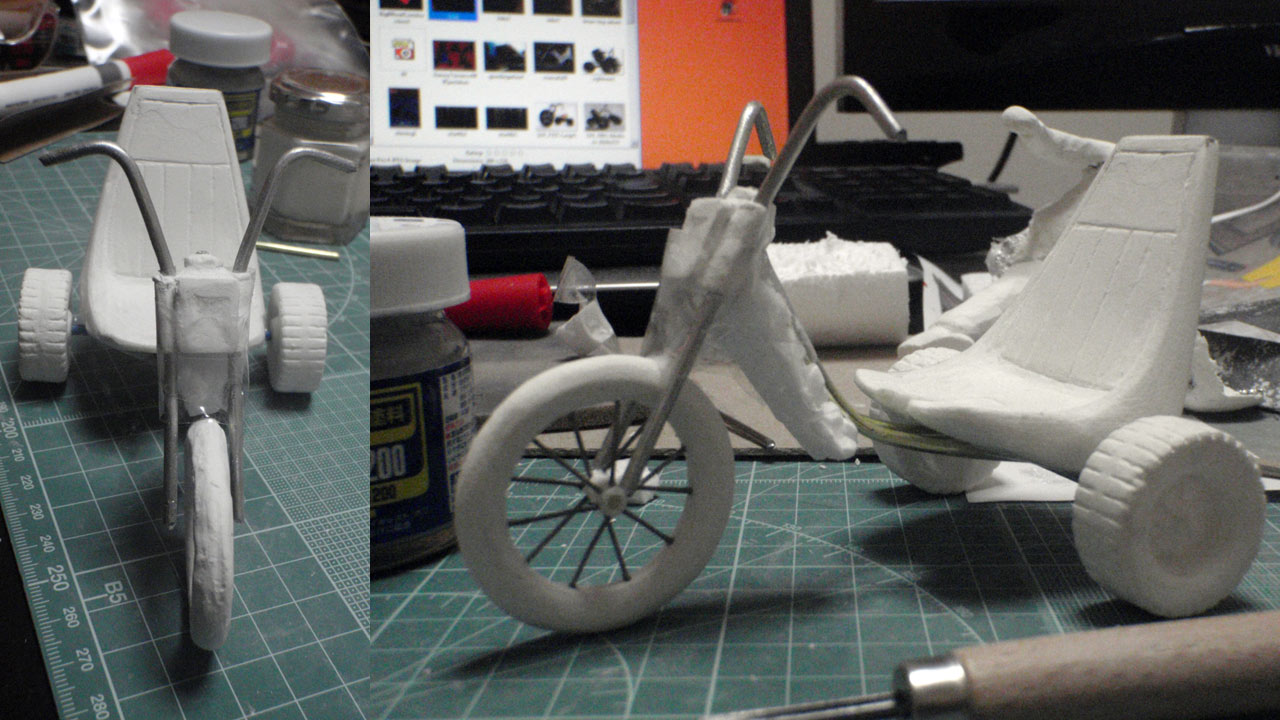
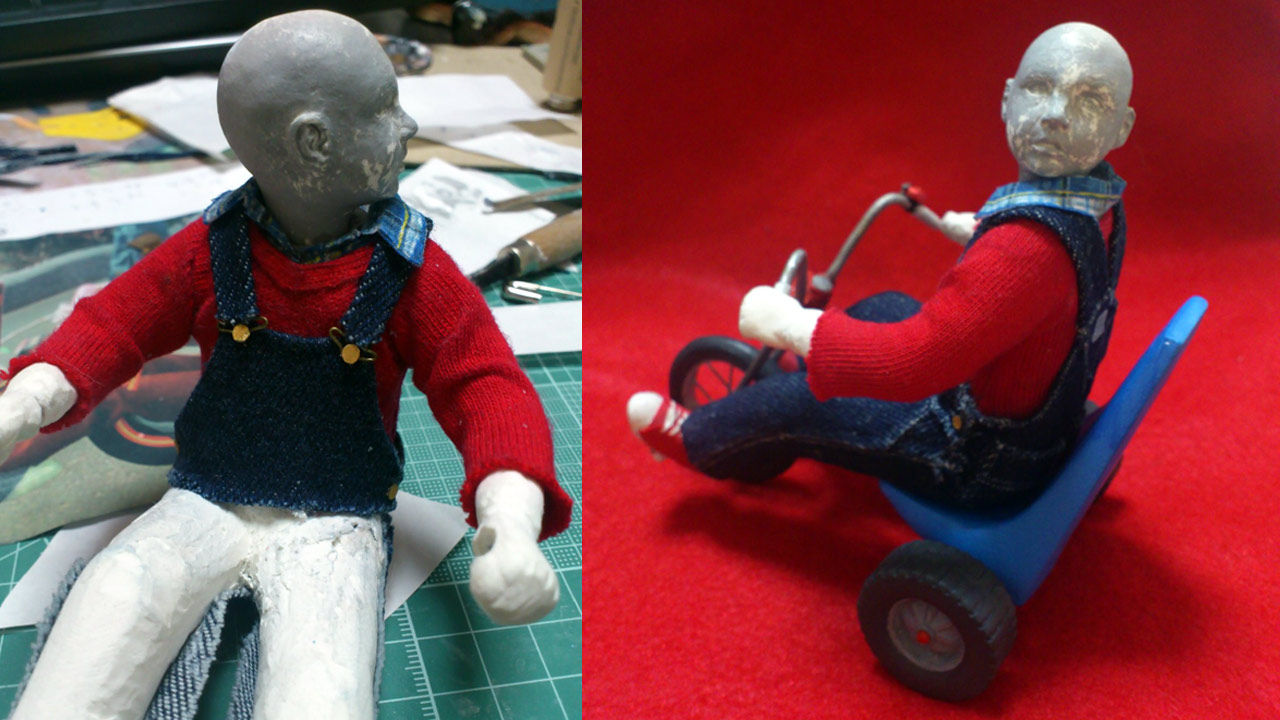
I won't lie, adding the spokes was a bee lol. It was one month into the Danny statue and I was ready to paint!
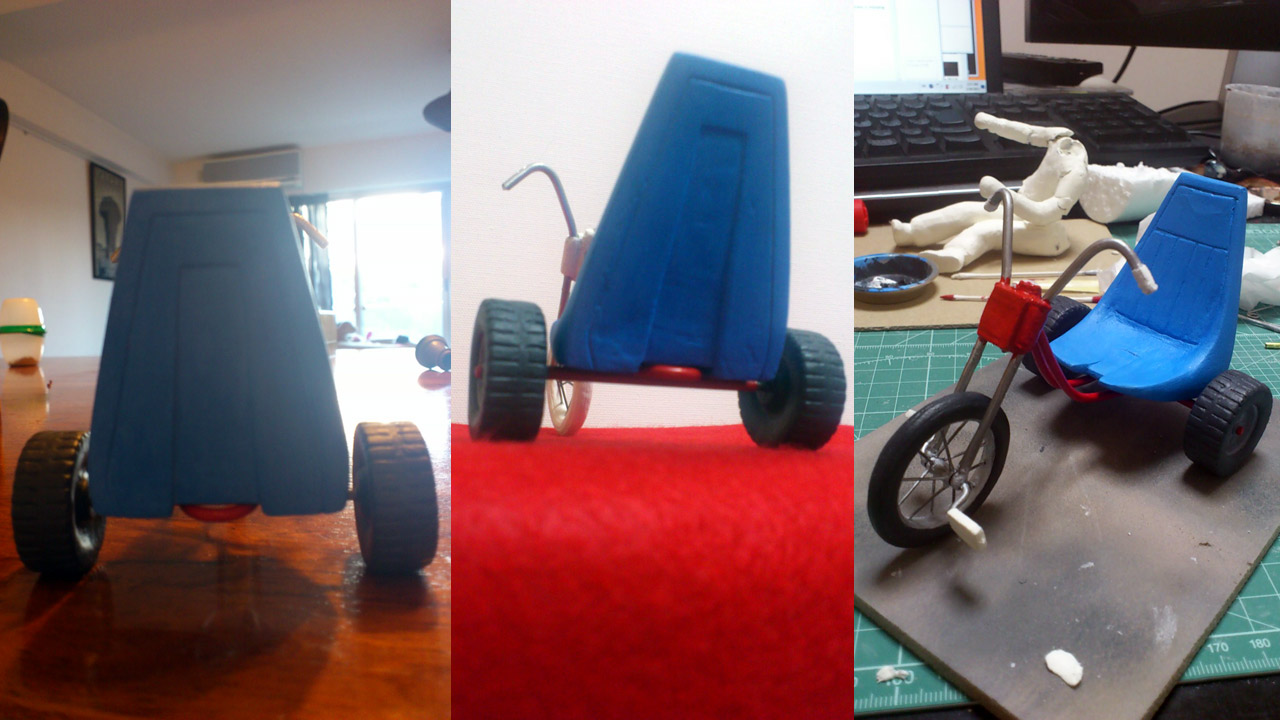
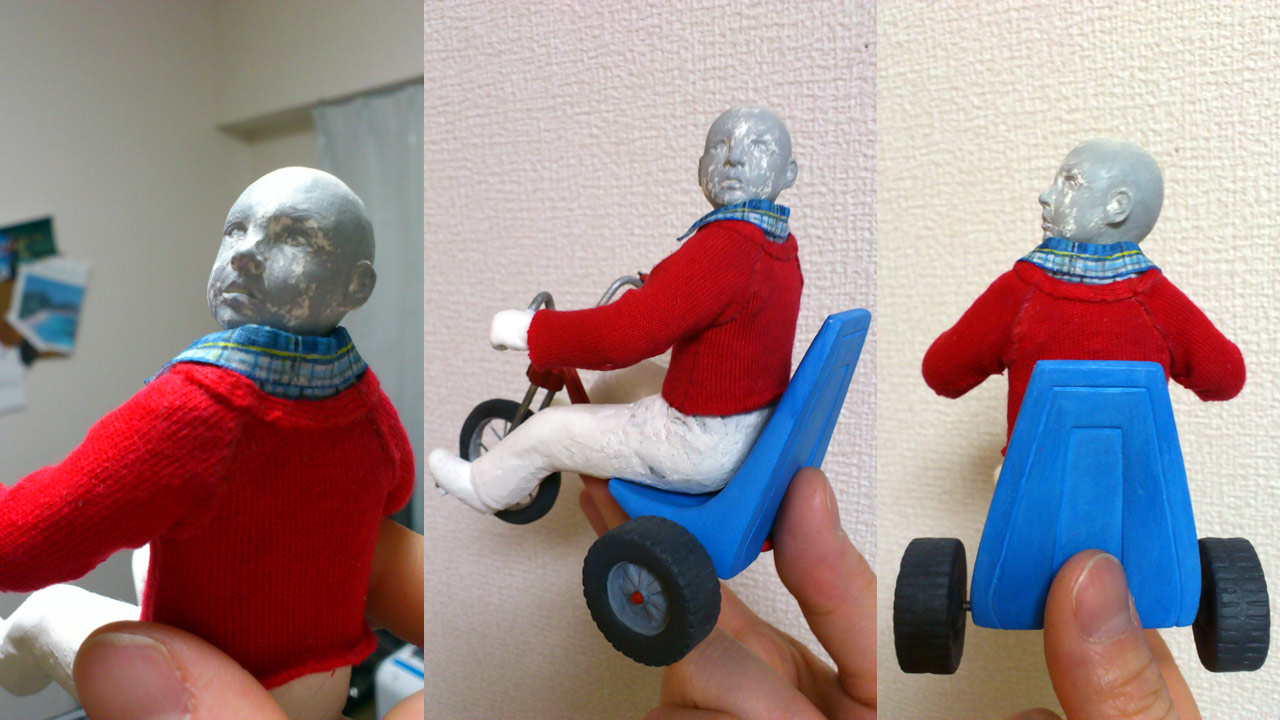
I can't tell you how satisfying it was to paint the blue seat, however the next step was a challenge as you can see Danny in the background broken. I had to literally
snap his limbs to get him positioned into the seat because both hands and feet were not aligned with the handlebars and pedals... grrr!
Problem solved after a few days of surgery. In the meantime, I decided what would go on the front of the gooseneck. Number 11. Why? Hmm... his Apollo 11 sweater,
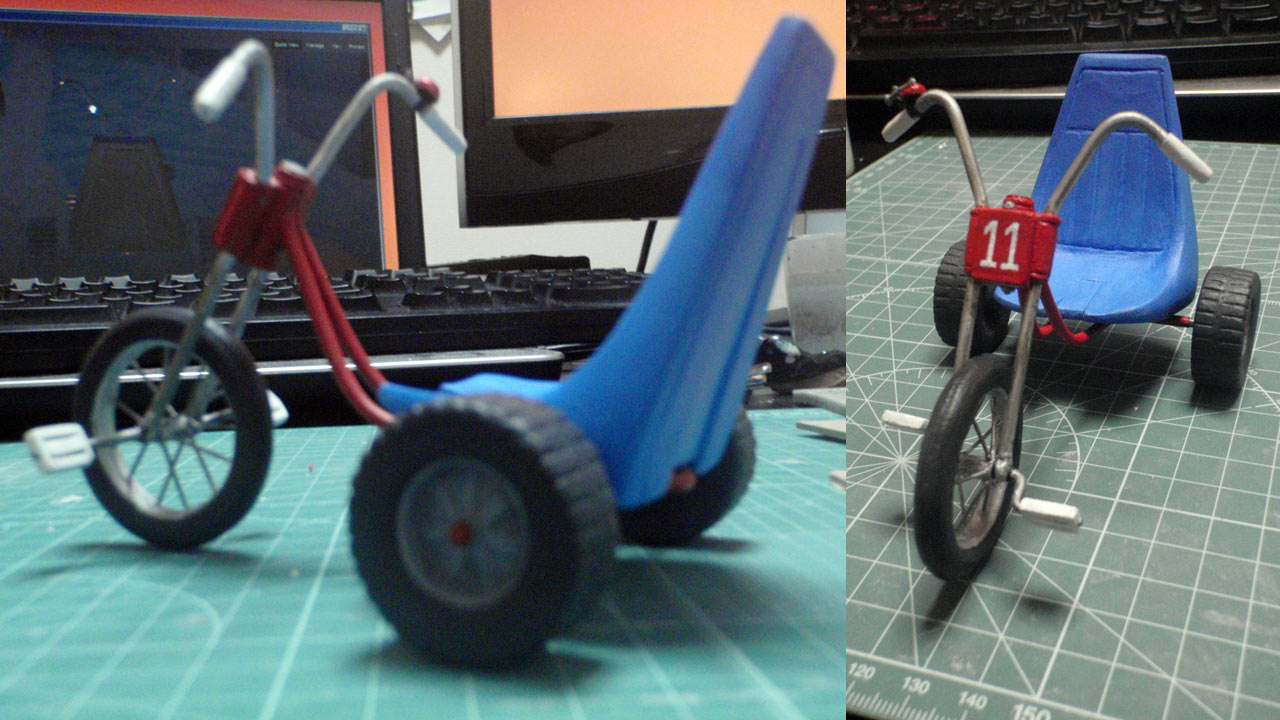
the Grady twins, and the amount Danny tallied on the dartboard hehe. Yes, I'm a geek. By the way, do you notice the red bell? Weathered and spray sealed with matte lacquer, here is Danny's big wheel.
Now to get him on it without breaking it. One thing I want to mention which has never been pointed out before
I revealed it in one of my THE SHINING analysis videos is that the original trike in the movie had a white frame, basket in front of my number 11 decal, and two bells. Try to find the original trike in the movie,
it's there and it'll freak you out.
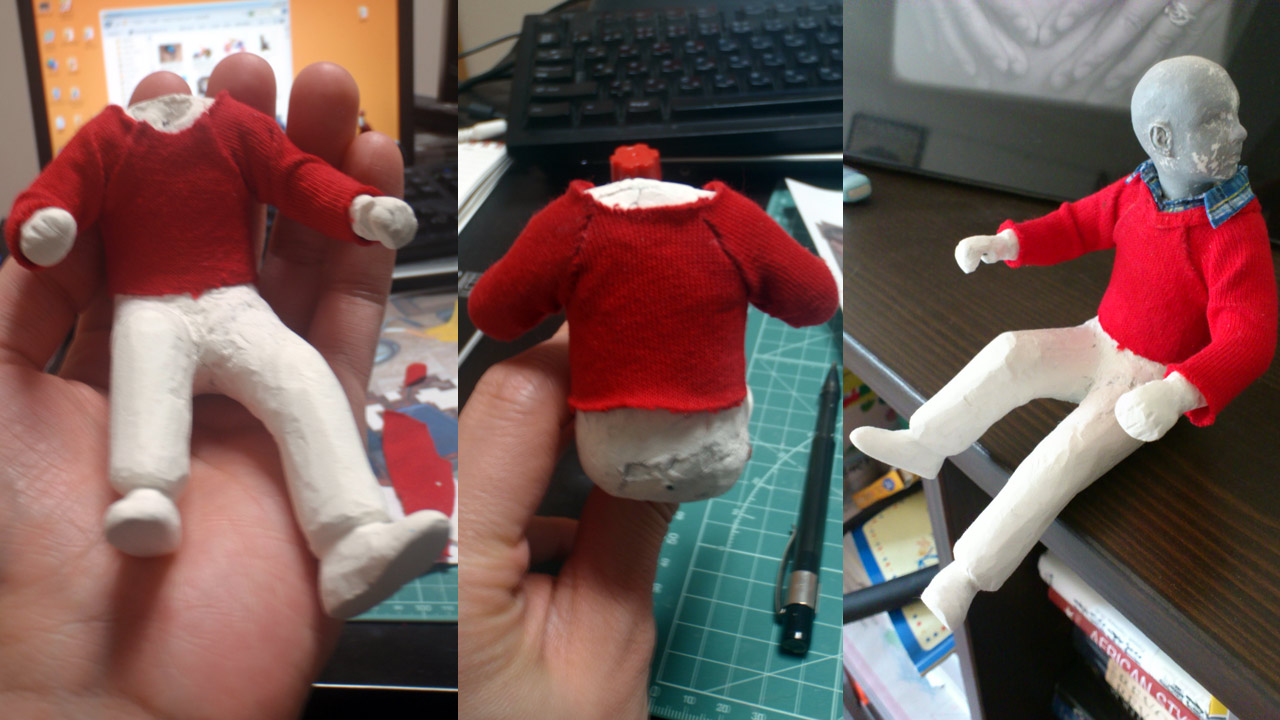
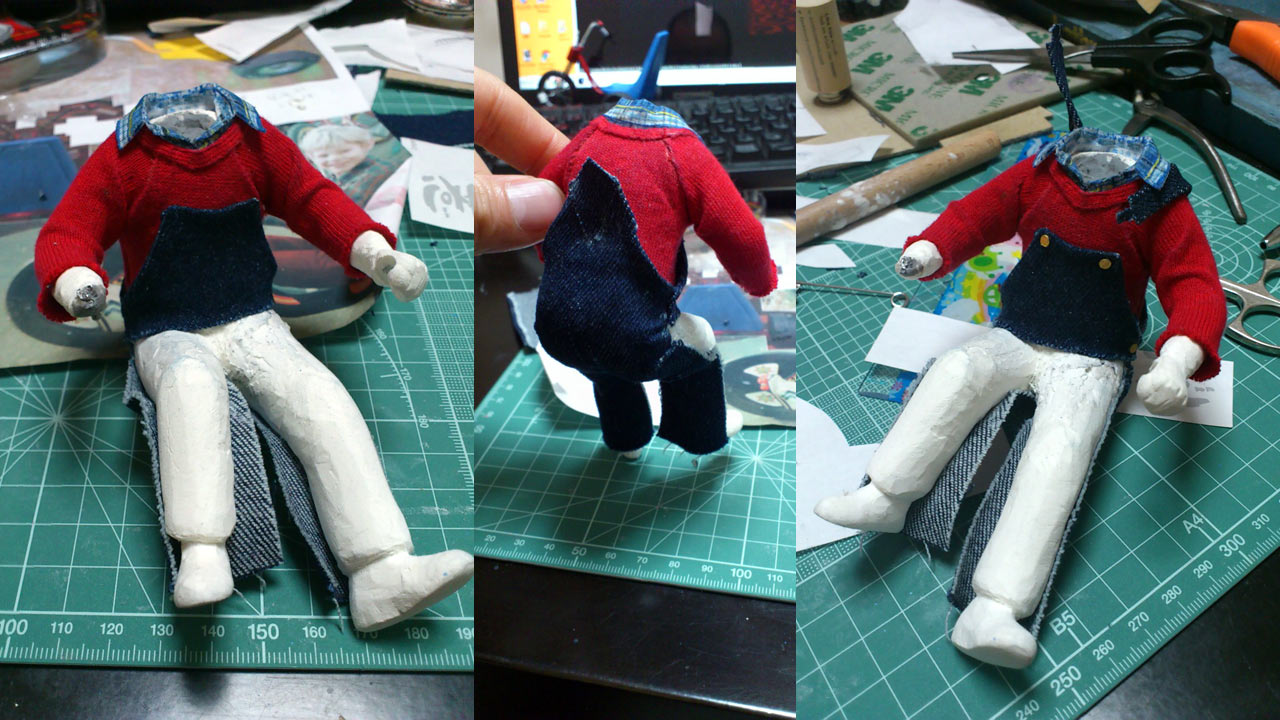
Now to dress Danny. Scouring the local fabric and craft stores in my former city of Kawasaki is always my favorite part of any statue project. I was lucky to find some very fine
tweed, I think it was that matched Danny's sweater, color and all perfectly, however, the plaid shirt was impossible to find... hmm... what to do?
The only solution was to paint the plaid by assembling the collar in fine white cotton which was tucked into the sweater. Notice I also added a lip around
around the neckline of the sweater. With Danny able to sit firmly in the seat, it was time to give him those LEE overalls with all those wonderful tiny adornments.
The overalls were made with four pattern pieces of the finest denim I could find: front flap, back flap, below butt with back of the legs and pattern for front of the legs. The
seams would be masked as wrinkles... yes, that's one of my tricks of the trade hehe.
The buckles were very difficult on my fingers to make. Luckily there was only two. I had found bronze colored pins in the sewing department that were just the right thickness.
The buttons were cut out from thin plastic-like foil. Finished the overalls and gave him shoes--unfortunately no photos were taken due to being in the zone.
Don't hesitate to email me at martengo or via if you have any questions regarding my Danny Torrance PD statue or work process. Especially if you are following these steps as a guide to making your own statue.