PAGE THREE: THE MAKING OF DANNY TORRANCE, A PHOTO JOURNAL.
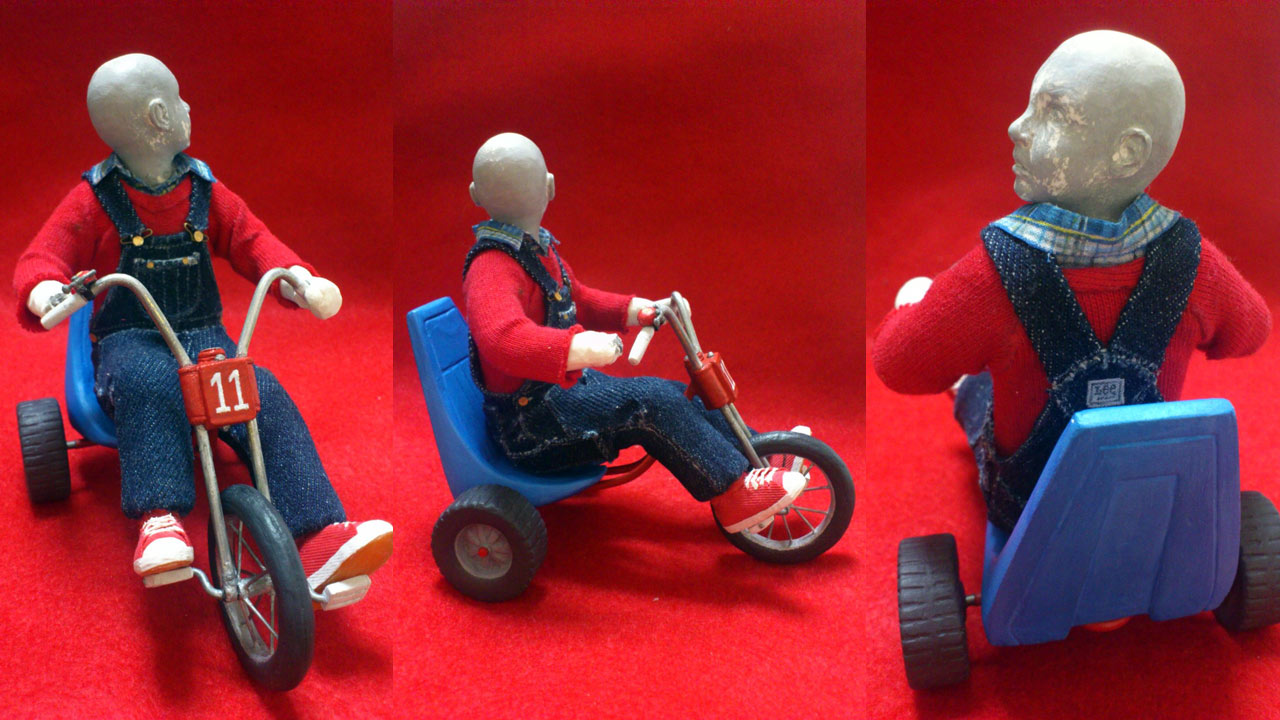
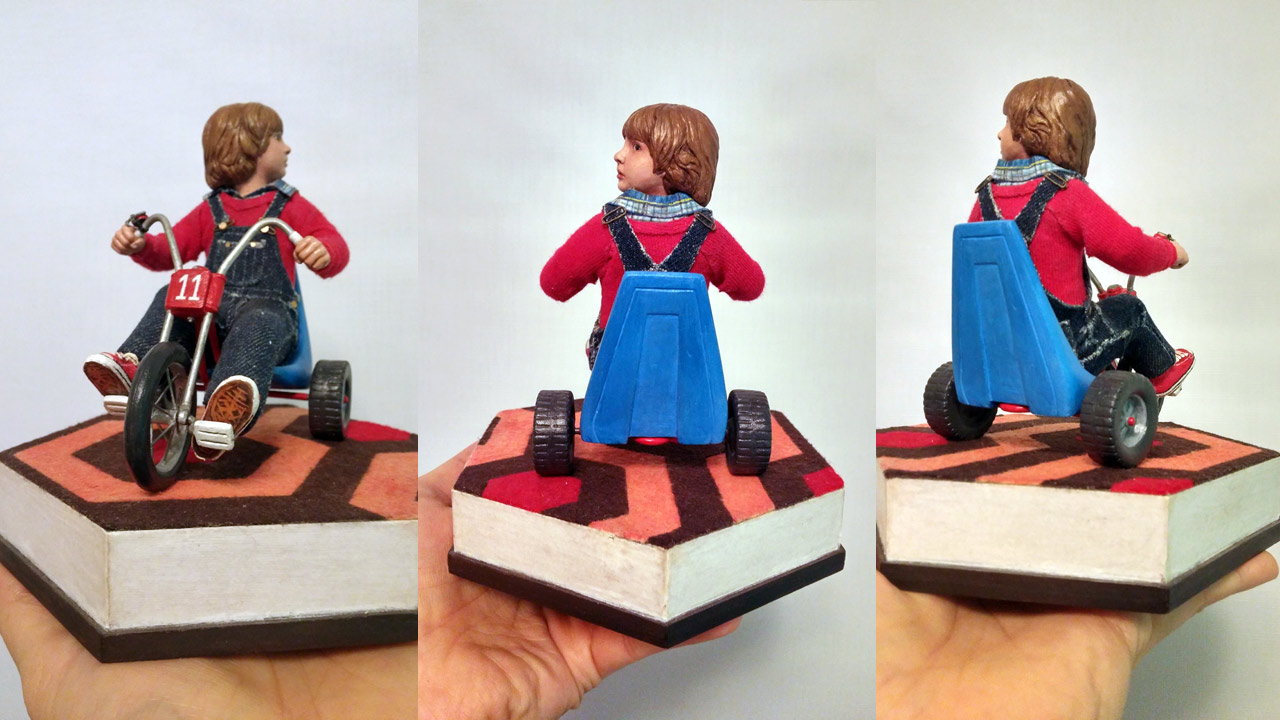
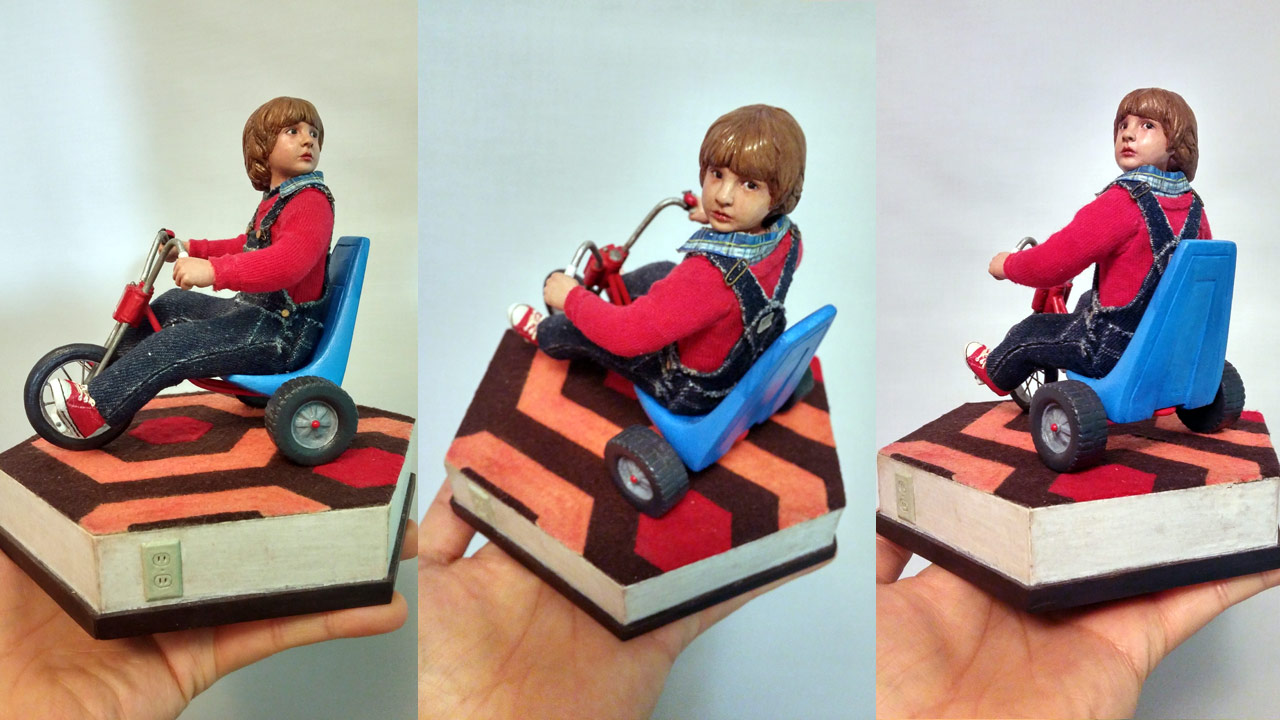
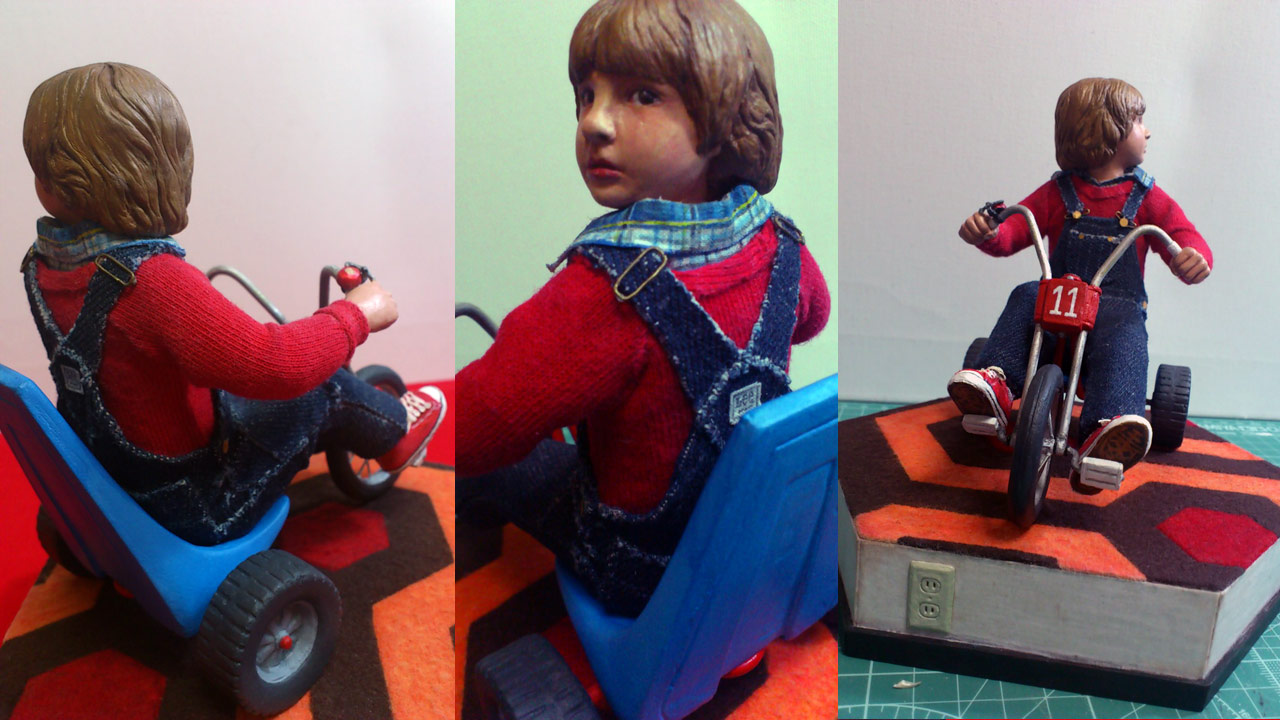
Notice the handpainted LEE brand label? With Danny fully clothed, there was a minor complication to get him back in the big wheel. I hadn't planned any wiggle room for the added
thickness to his butt and length of his legs with the shoe soles... more surgery.
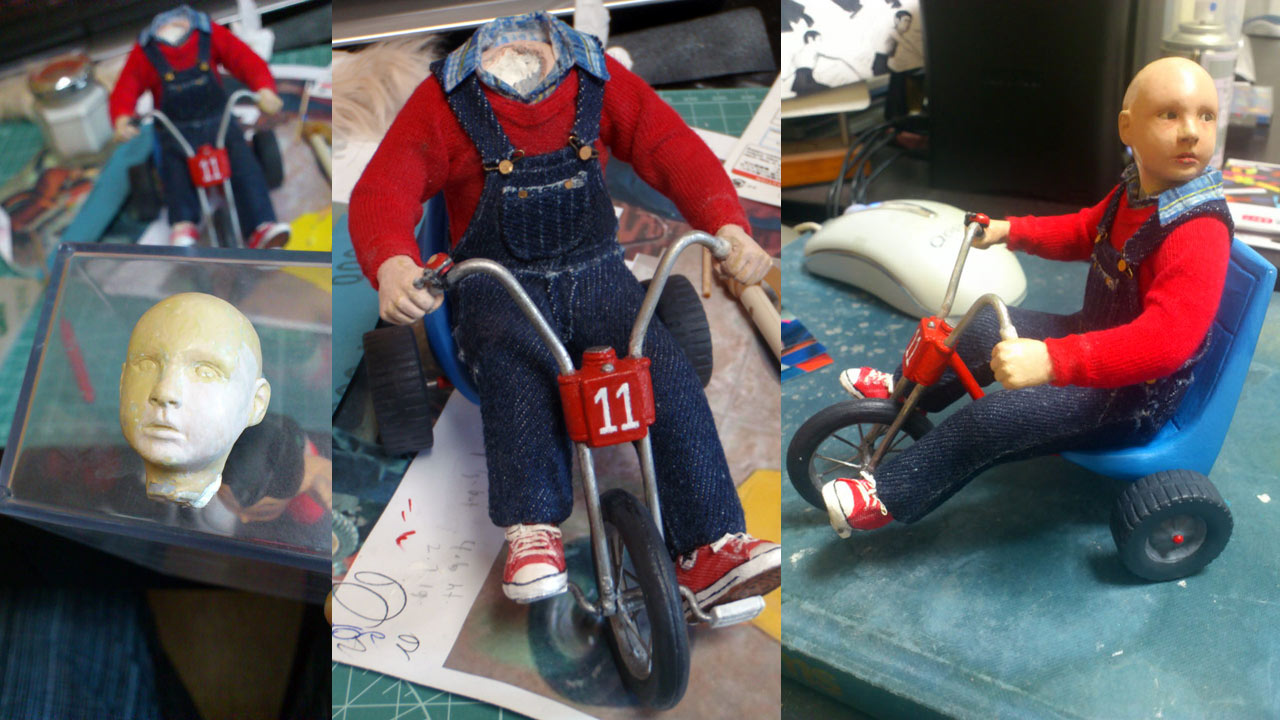
Finished the hands, sleeves and painting the soles, only Danny's head left to do. Pretty cute isn't it? A headless boy riding a big wheel haha. With the first round of
facial paints completed and some lacquer, it's beginning to resemble Danny now.
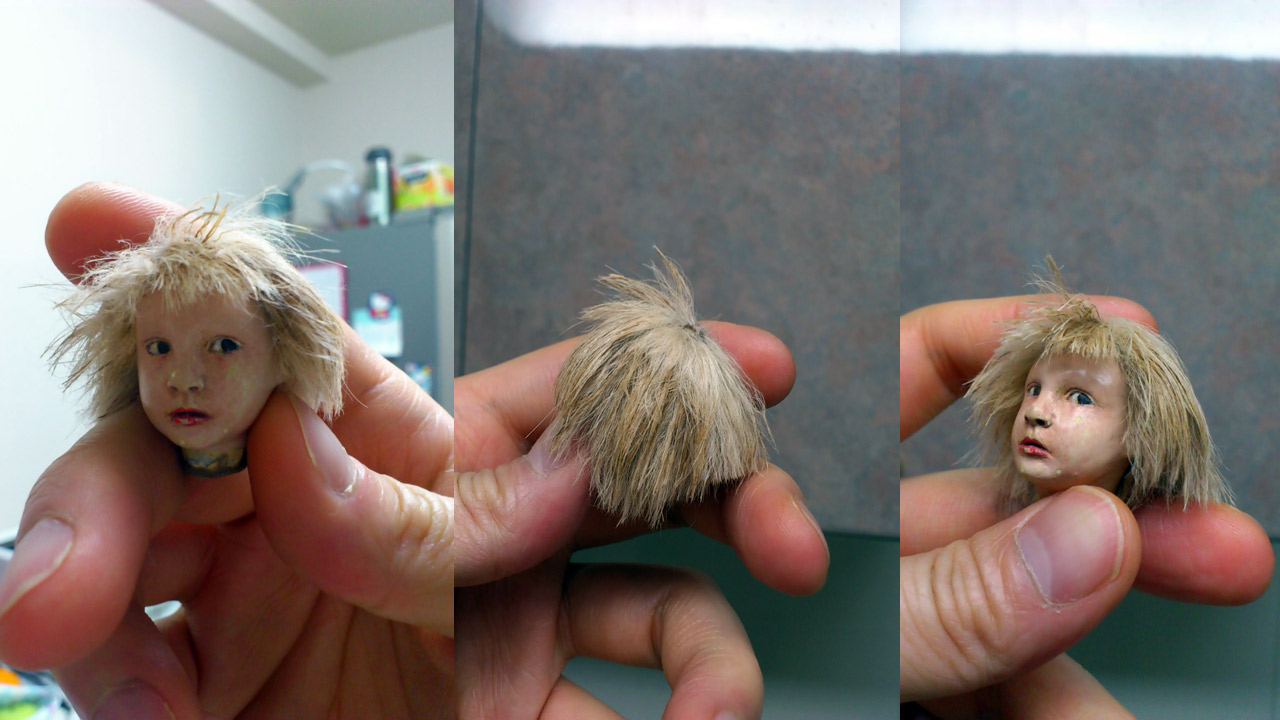
Here I experimented with doll hair for the first time, ever. The results were decent now that I look back on these photos, but at the time, it just wasn't working. I did some
revision work on the face to try to balance it with the doll hair, but ultimately, it just didn't work.
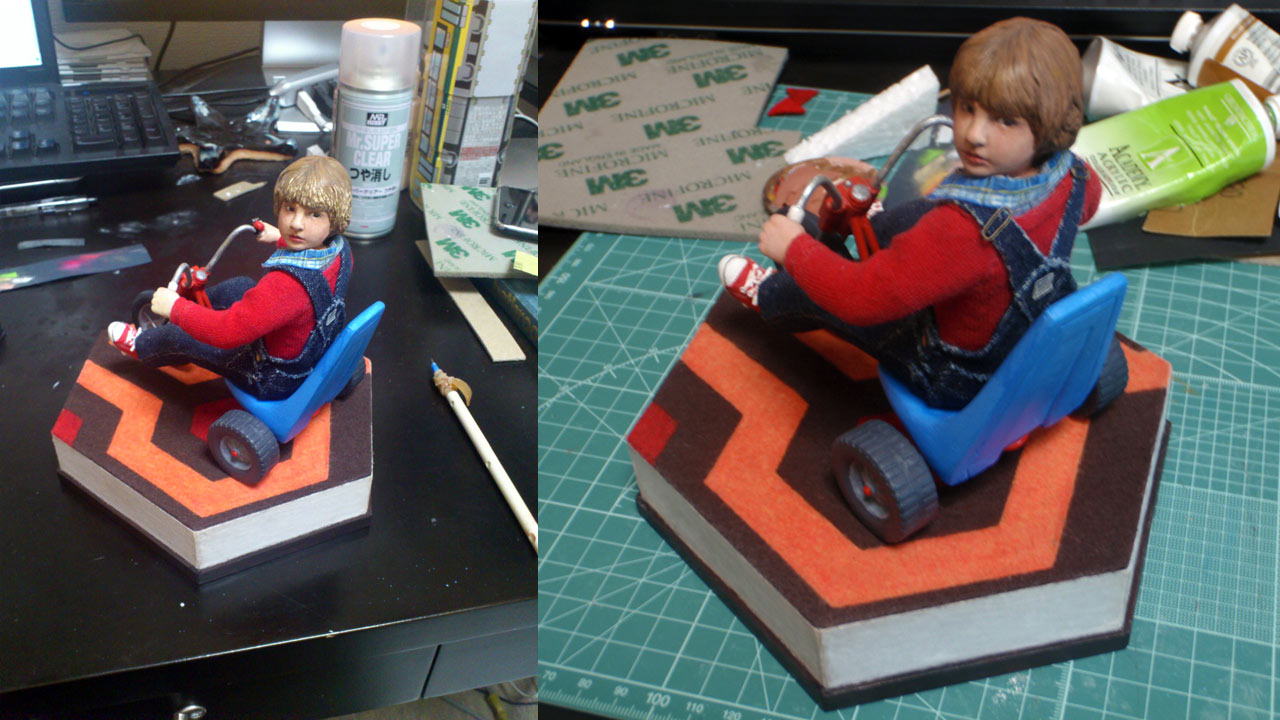
Four more days of stubbornness, I ripped out all the hair and went back to my trusted Premier clay to get the job done. In doing so, I ended up revising more on Danny's face.
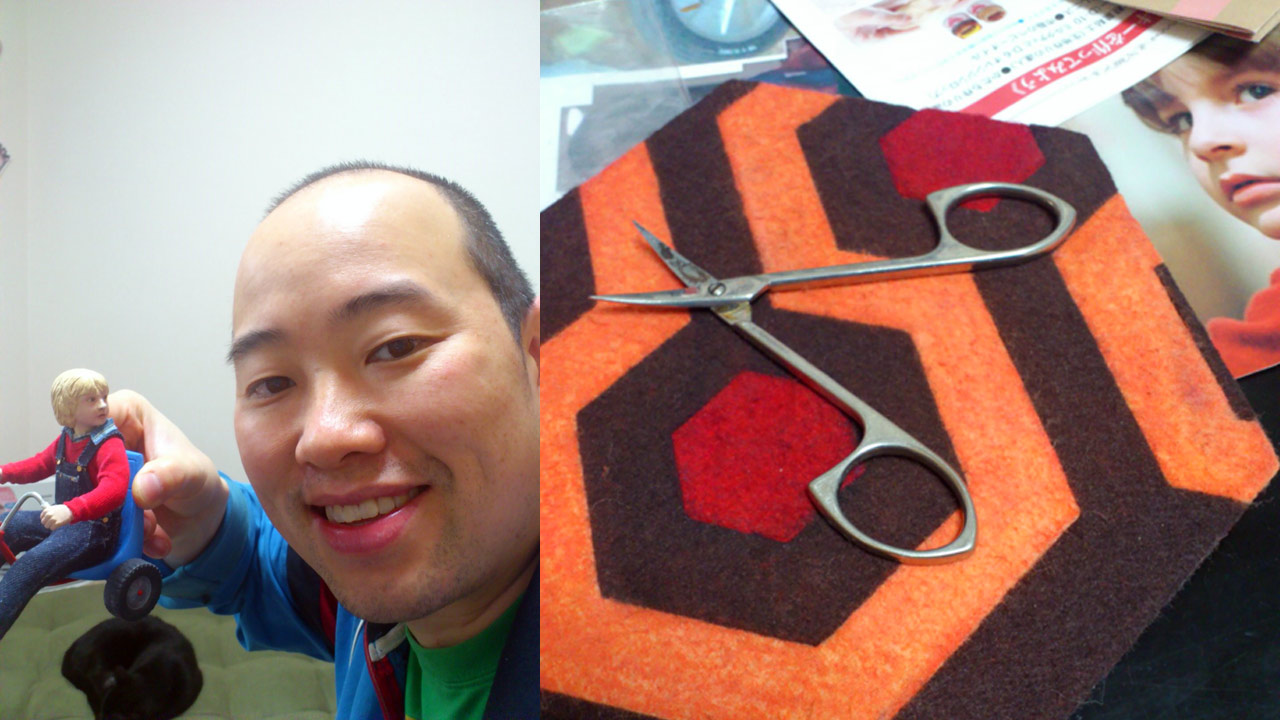
In particular, his nose. Do you see my black cat in the background? Rest in peace, dear Blue.
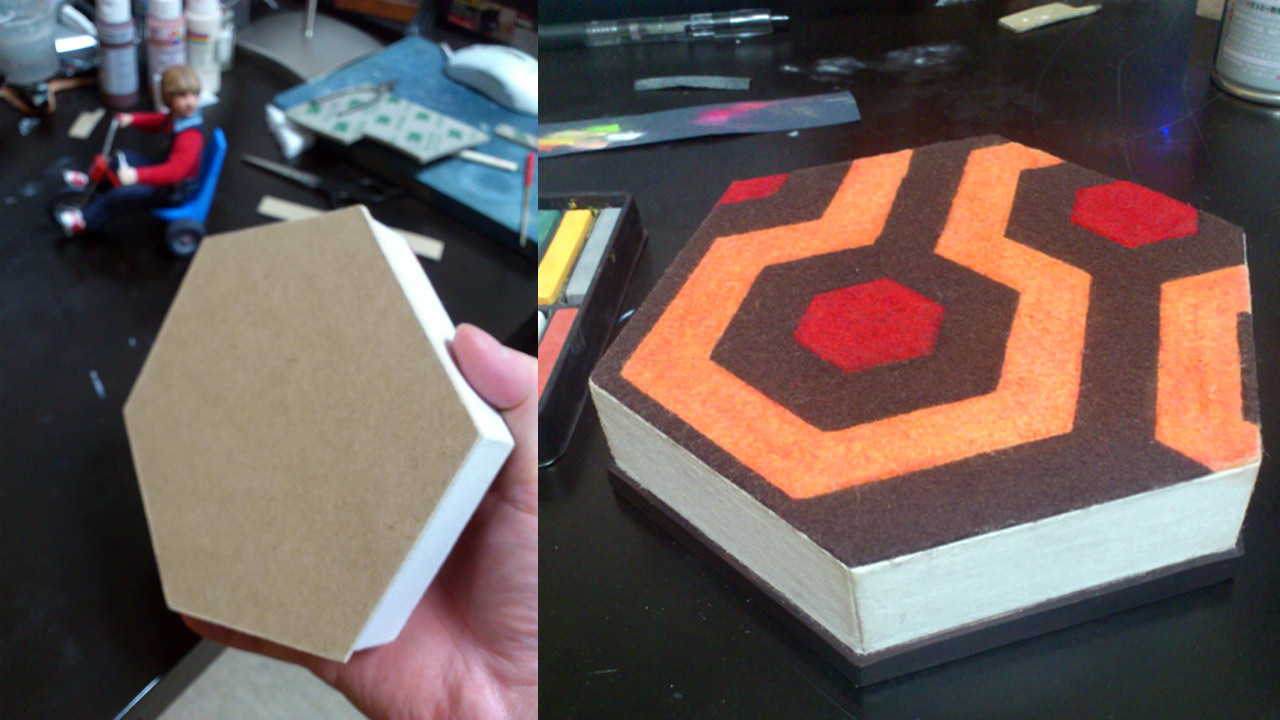
Moving on to the base. Color felts closely matching the colors of the Overlook Hotel carpet were used to piece together the enigmatic pattern and then chalk pastels to touch up
the colors. Many coats of fixative spray was applied to lock in the pastel chalks from smudging.
The base was constructed in styrofoam (body), paperboard (walls) and wood (bottom). First I stacked a few sheets of 1 cm styrofoam then cut out the hexagon according to the dimensions
of the hexagons on the carpet. Paperboard was glued to each side with the top and bottom of the base fitted with wood.
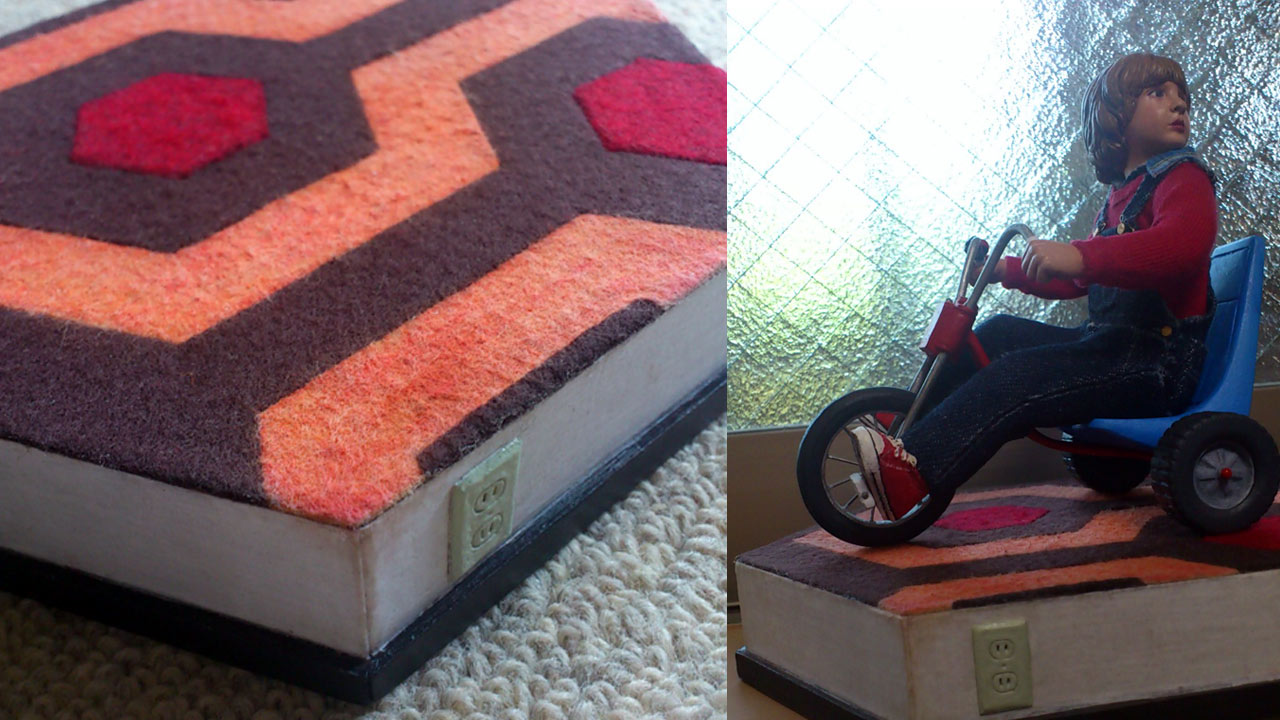
The walls were wallpapered with fine Japanese calligraphy paper. I had toyed with the idea to do it in floral paper as seen in the scene with the Grady twins standing in the hallway,
but realized it would likely make the piece looking too busy and cluttered taking away from the unique carpet pattern. So I added an electrical socket instead...
Over the years, many people have asked if the socket works and what's it for? There is really no purpose for it other than a detail I noticed in the film
when Danny was riding around the halls of the Overlook Hotel.
And that my friends, is a wrap! I began this project on Jan. 29th 2013 and finished May 9th 2013.
Danny and big wheel aren't locked down to the base. I had the plan initially to embed magnets to hold him down but since it's unlikely the big wheel would tip over from loss of balance,
it just wasn't necessary.
If I ever attempt a second Danny Torrance statue on his big wheel, I would definitely make it able to roll and Danny's legs articulated to pedal along with it. Thank you for coming along
for the ride and following my journey. It was definitely a worthwhile project to have started and completed.
Don't hesitate to email me at martengo or via if you have any questions regarding my Danny Torrance PD statue or work process. Especially if you are following these steps as a guide to making your own statue.