PAGE ONE: THE MAKING OF TANG LUNG | TONG LOONG, A PHOTO JOURNAL.
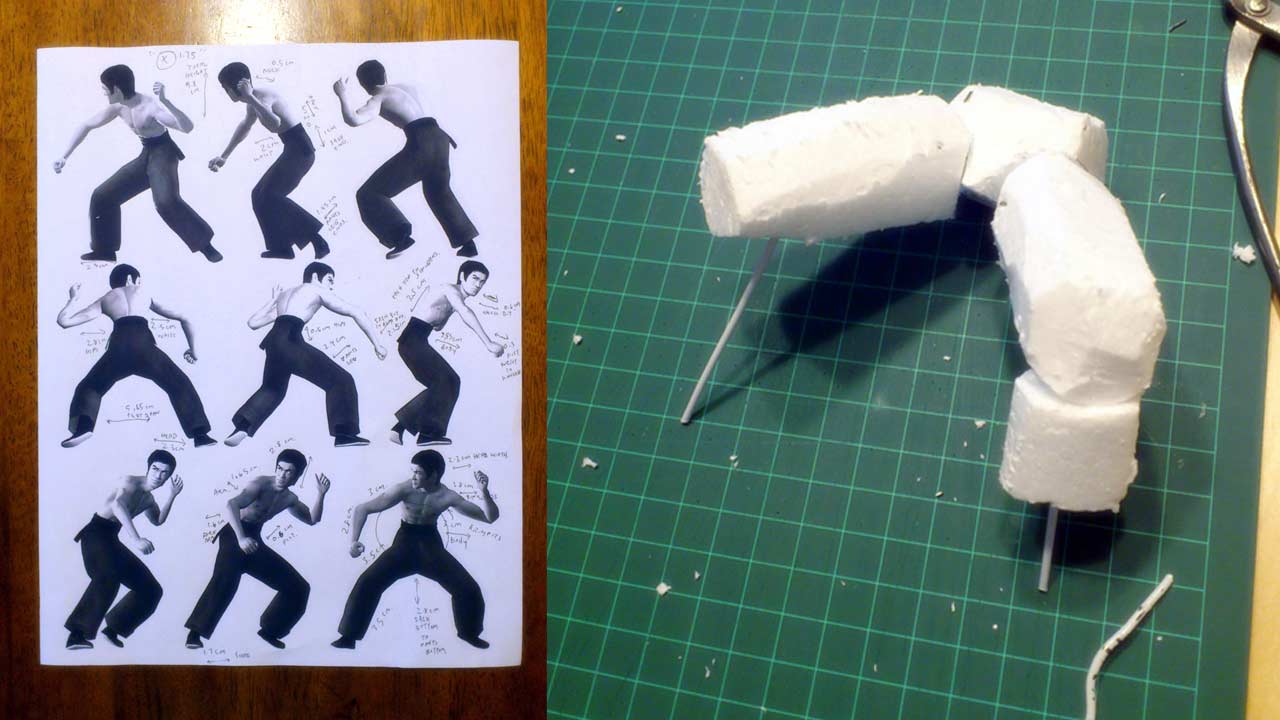
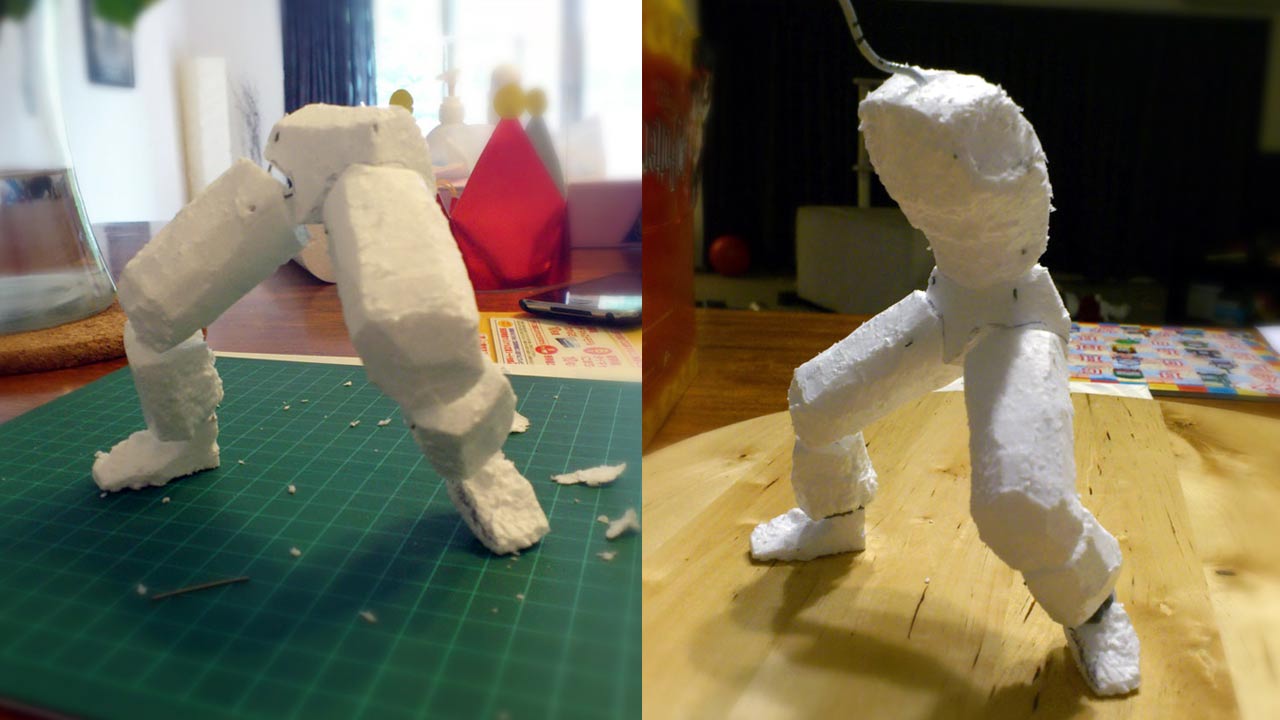
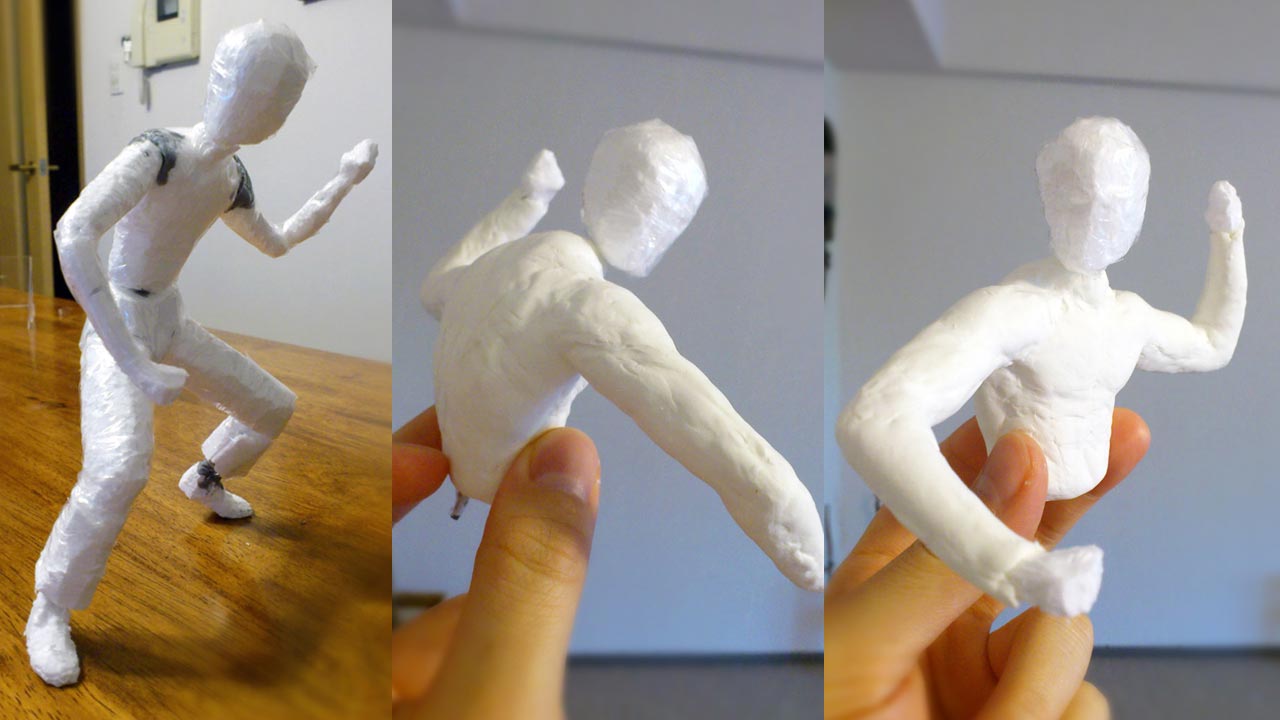
With my 3D Tang Lung model as reference, I began constructing the legs with aluminum wire coated with styrofoam blocks. The initial concept was to make the statue as a ball-jointed doll.
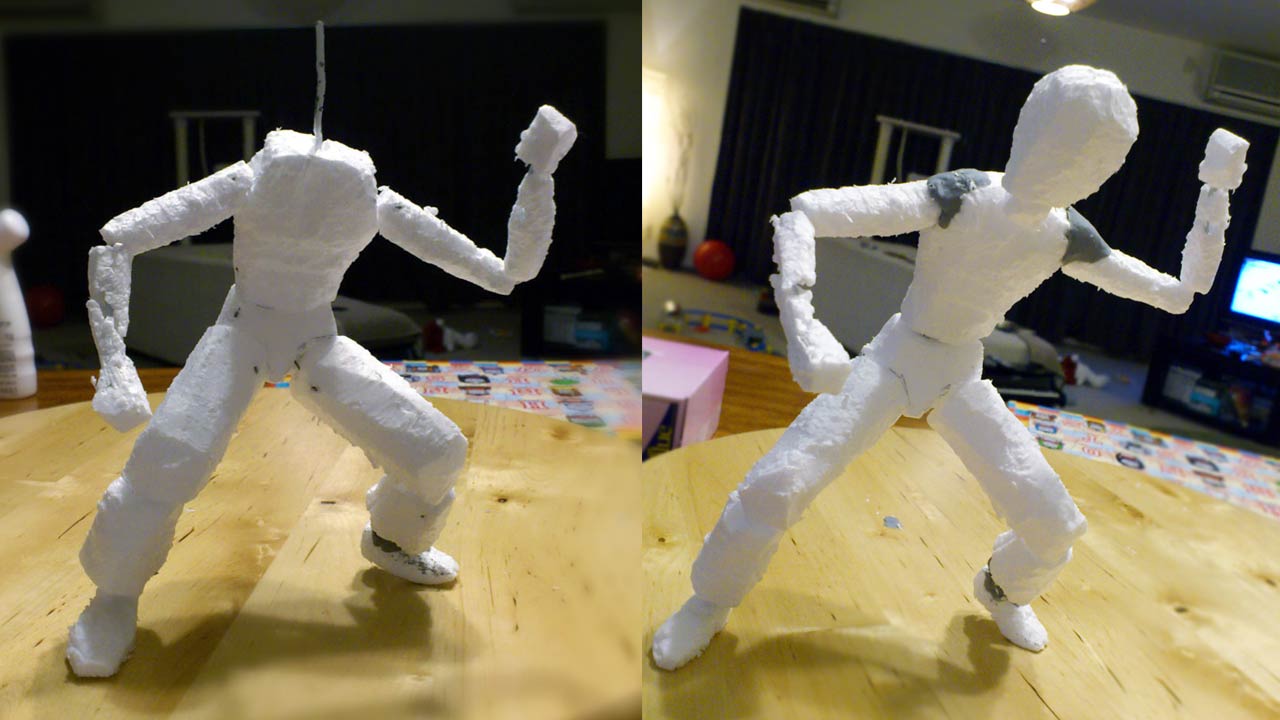
Establishing the legs with a strong foundation is vital in supporting the torso with splayed arms and tilting head. Balance is key. Once in the fixed position, the styrofoam blocks were glued down.
The styrofoam blocks were shaved down to get a general form. Modeling clay was used in the articulated areas to hold a temporary position while tweaking the pose.
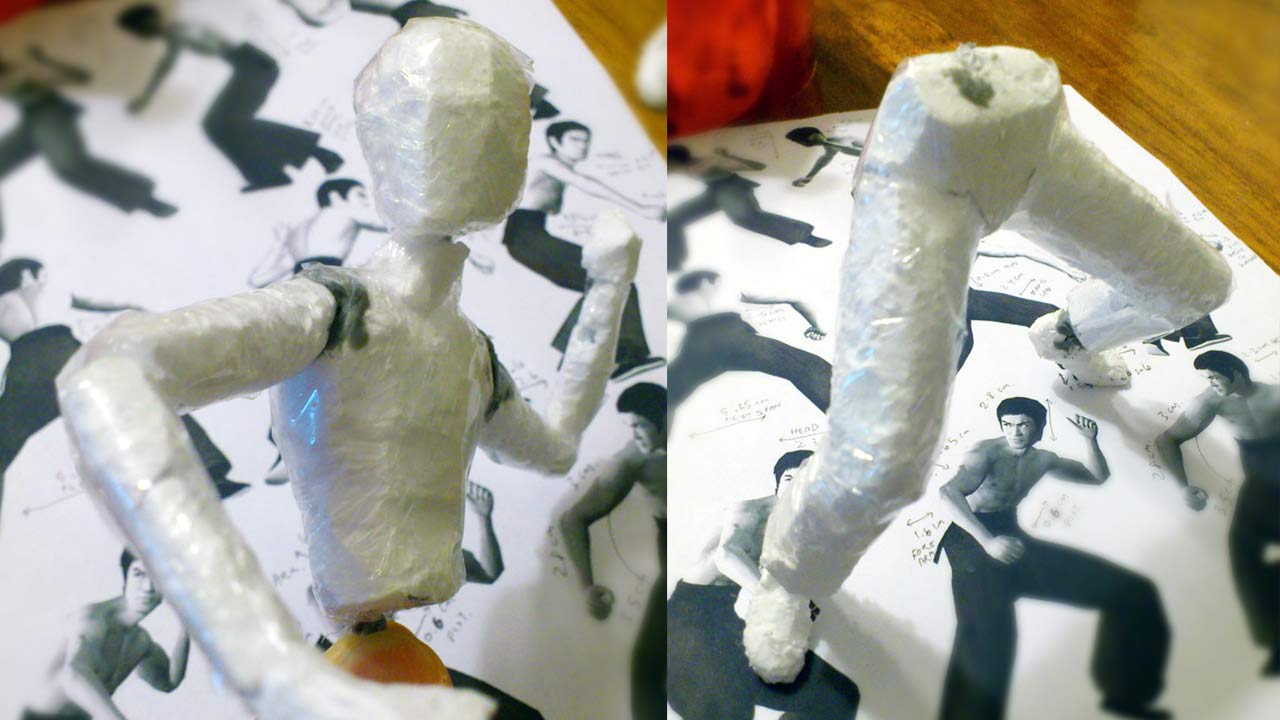
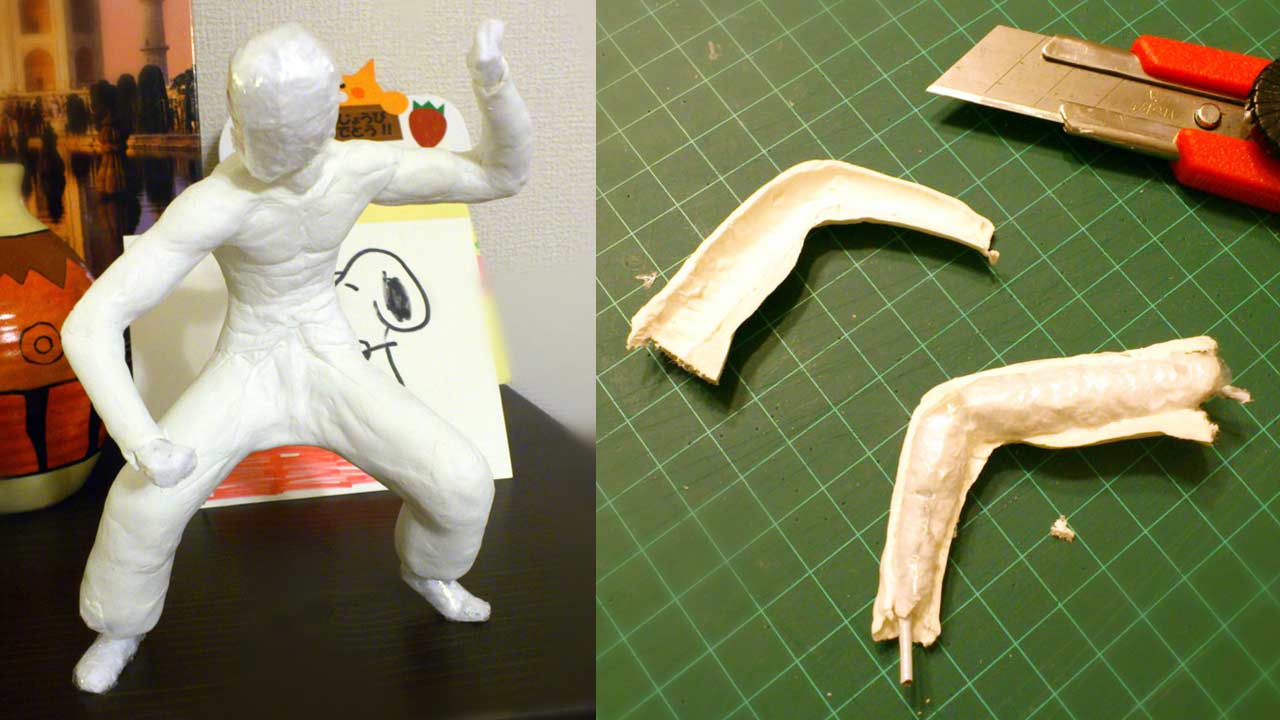
With the entire body coated in styrofoam and shaved down. It was ready for the stone clay coating. Before that process, fine plastic was used to tightly wrap the two halves.
The first coat of Padico's Premier Stone Clay was applied to the body dusted with talcum powdered. I love this silky smooth clay and how it's ready to work right out of
the package without much kneading.
I connectied the two halves by wetting down the ends and merging them together. The plastic wrapped inner styrofoam coating was easily removed due to the unsticking properties of the talcum powder.
Don't hesitate to email me at martengo or via if you have any questions regarding my Tang Lung PD statue or work process. Especially if you are following these steps as a guide to making your own statue.