Tang Lung
   MAKING THE STATUE
PAGE THREE: THE MAKING OF TANG LUNG | TONG LOONG, A PHOTO JOURNAL.


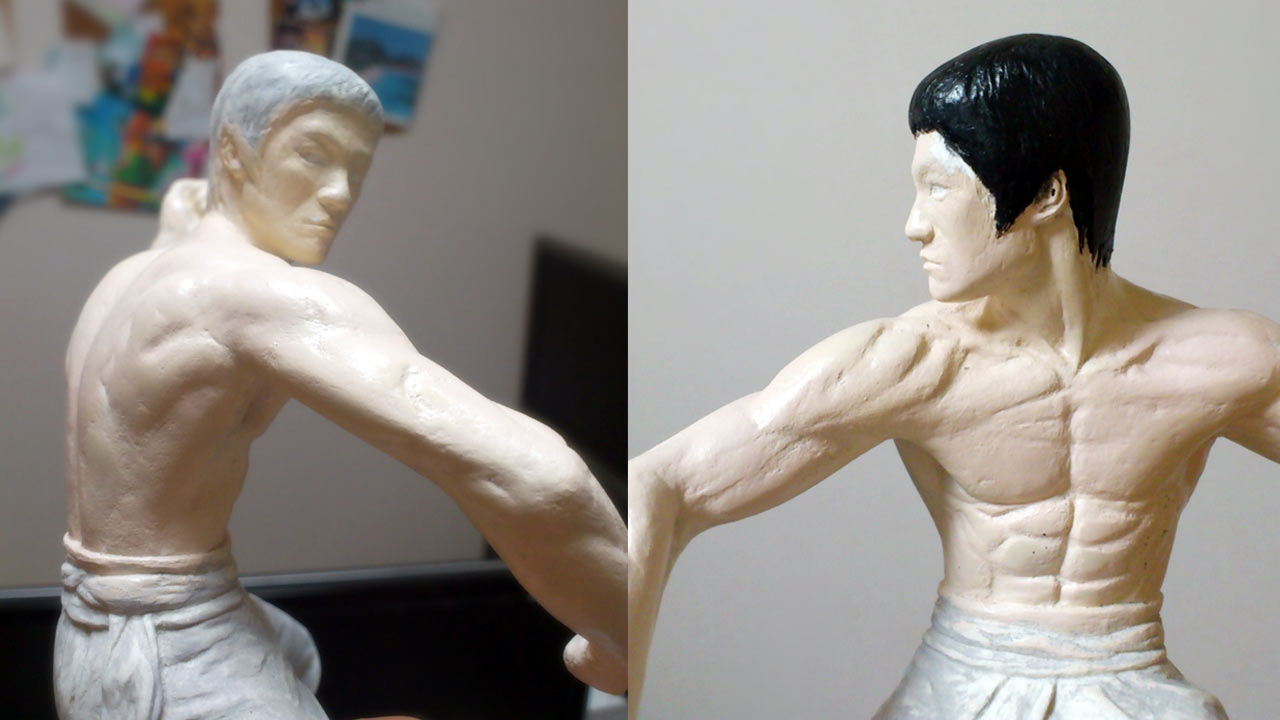
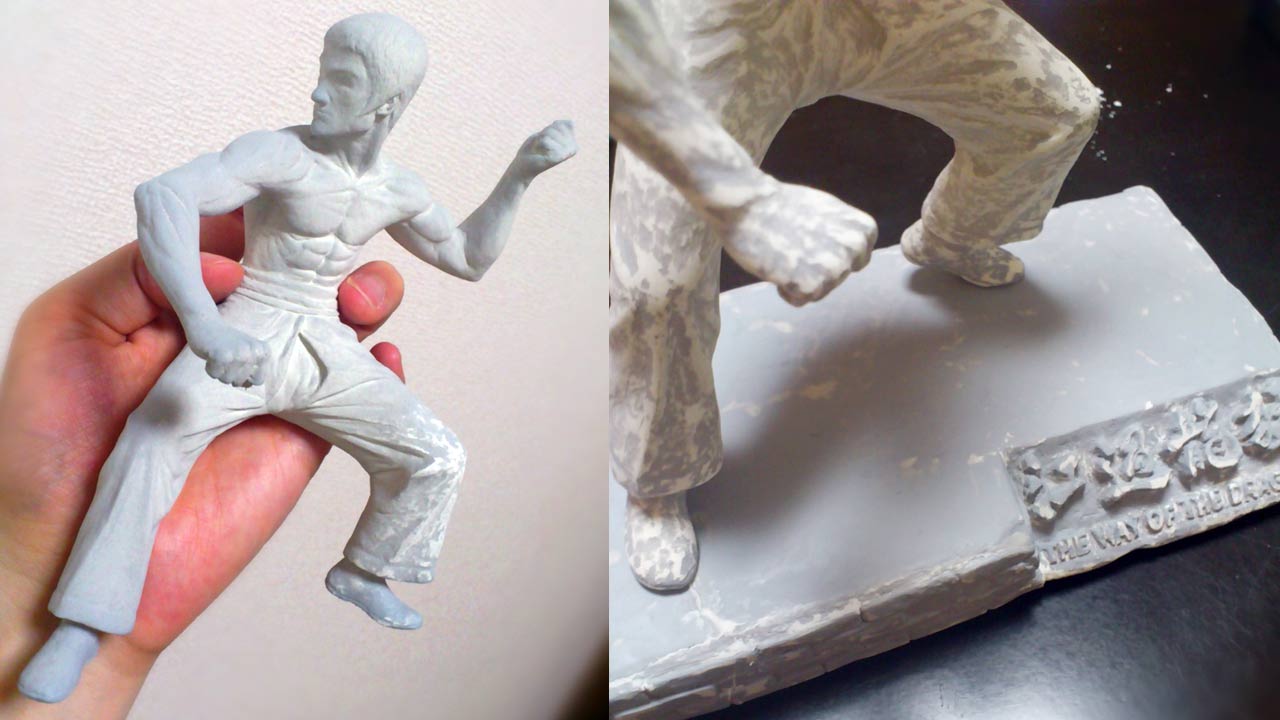
Two images side by side of the miniature statue and base sprayed in Mr. Hobby's Mr. Surfacer 1200 gray colored primer
Using Mr. Hobby's Mr. SURFACER 1200 spray, I primed the statue and base. A quick sanding gave them a silky smooth feel.
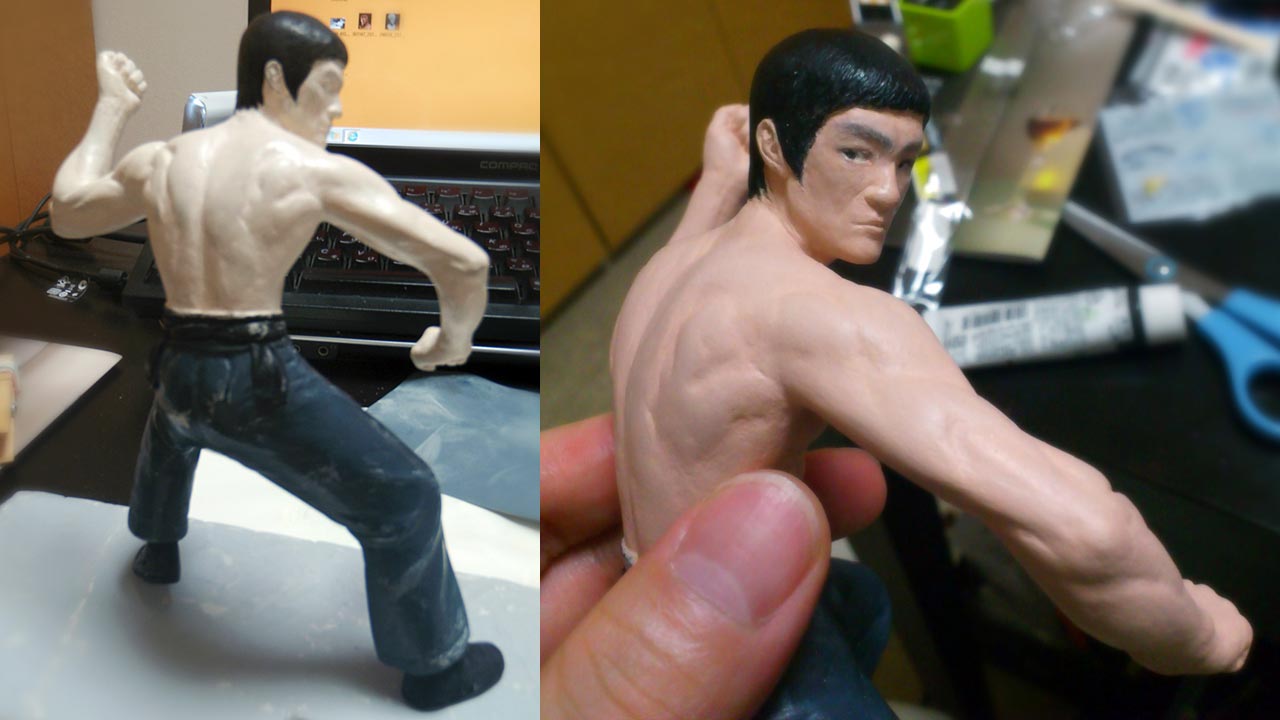
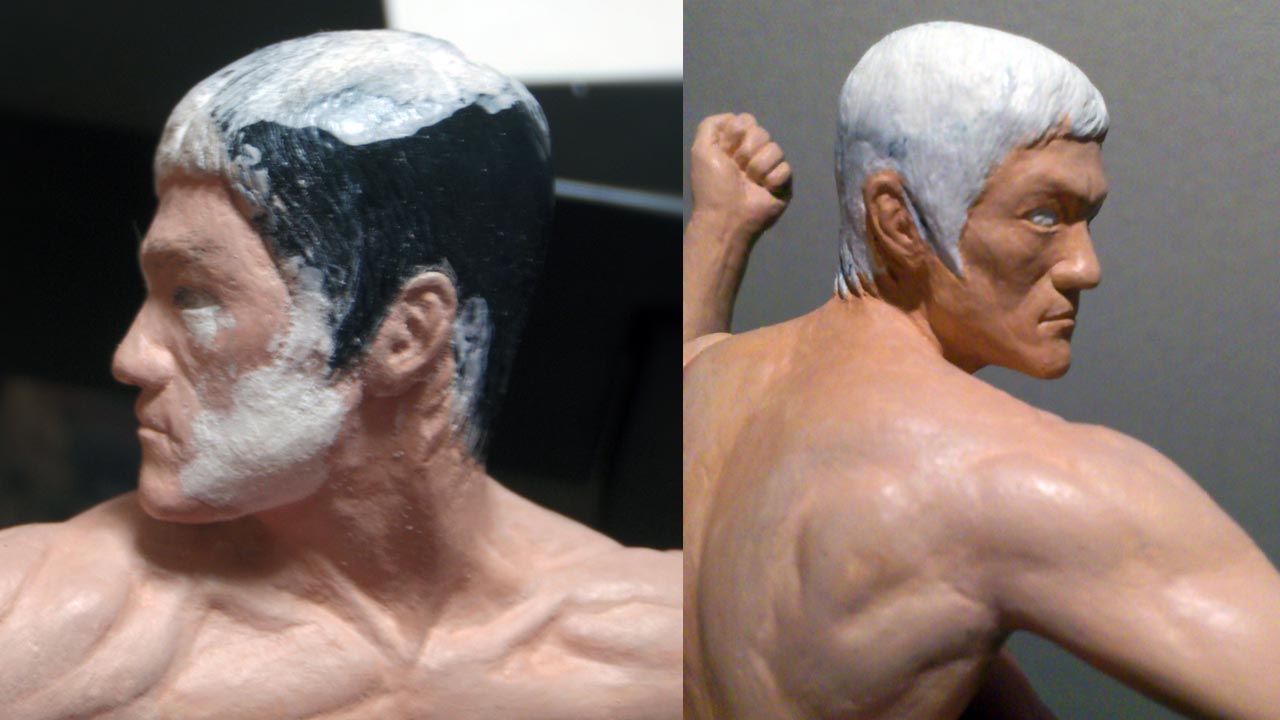
Two images side by side in medium close up shots of miniature statue with first coats of peach color paint for skin and black hair
The skin base coat in acrylic paints went on and soon, the chatters in my head to redo the face and head started to grow persistently.
Two images side by side in full and half body shots of miniature statue completely painted
More coats of paint were applied. The notion and hope to fix the statue with paints all go out the window now.
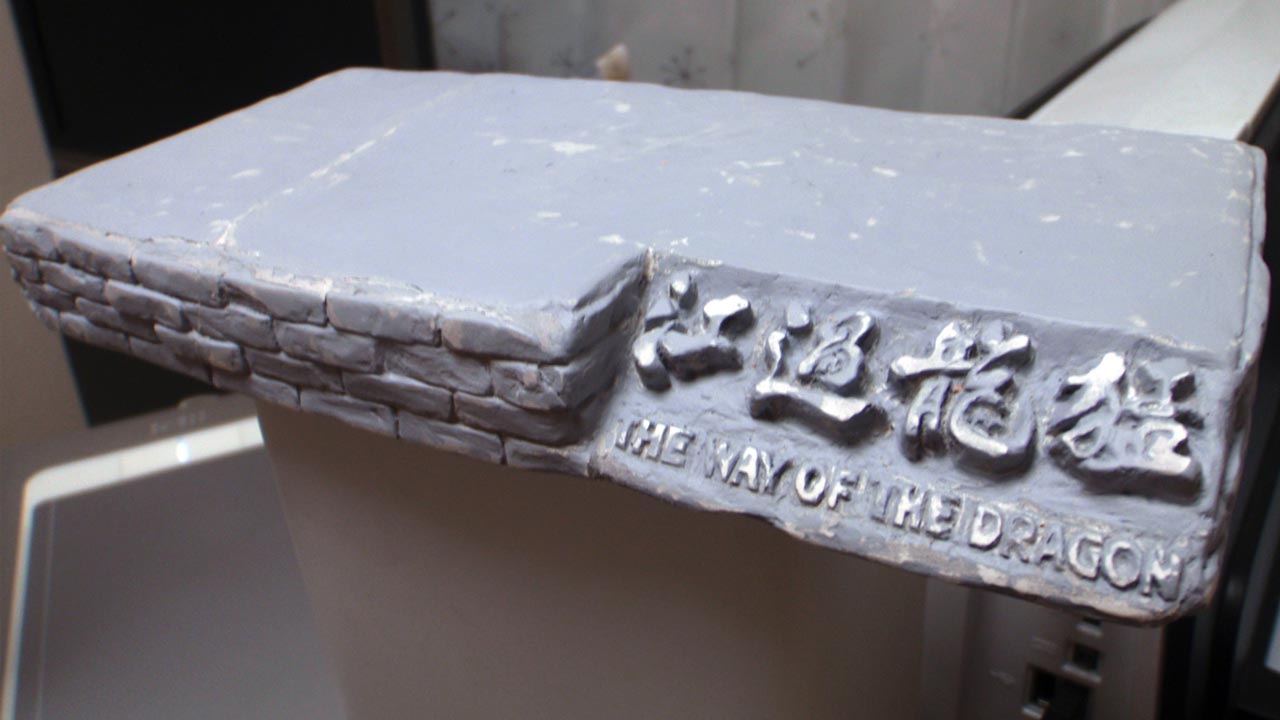
One image in full view of the primed base
Returned to the base, sanding and refining each brick to give it the natural nonuniform appearance of aged bricks.
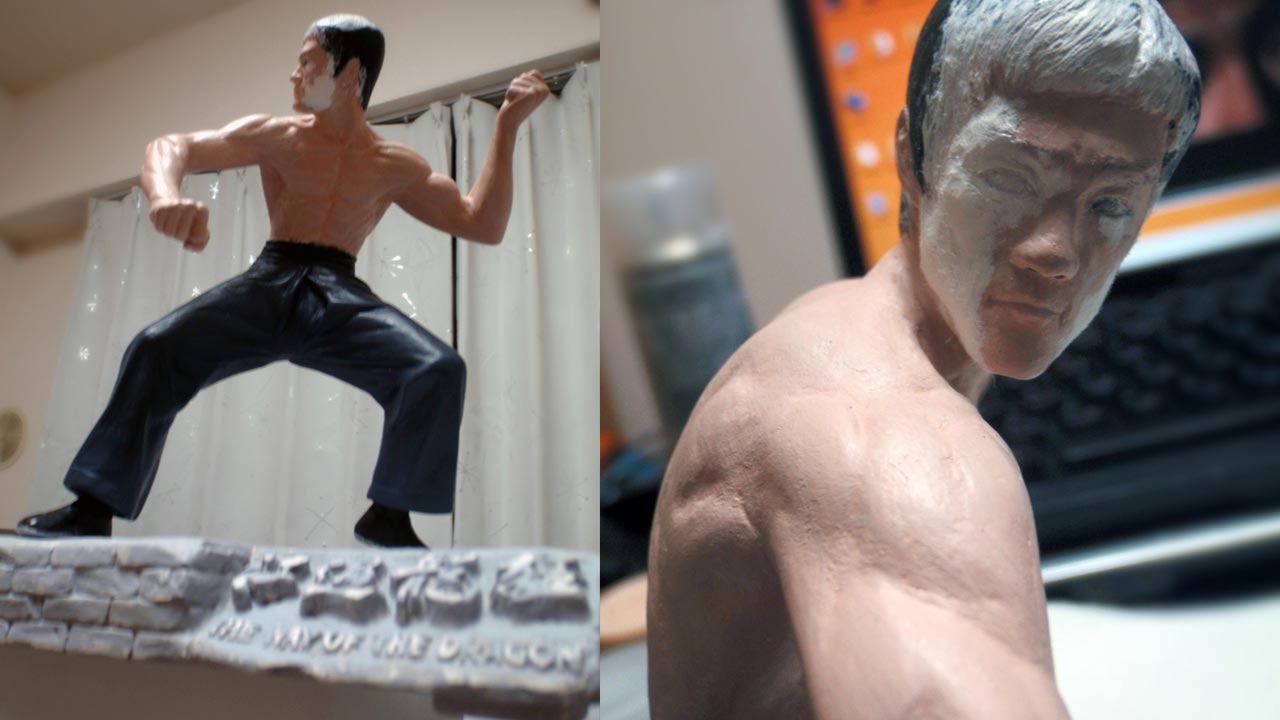
Two images side by side in a full body and close up shots of Tang Lung standing on base with facial revision as well on the second shot
When Tang Lung stood on the base, there was no hesitation to start revising.
Two images side by side in close up showing before and after facial revision work
The balance between head, body and base were so off that it left me disappointed and disgusted.

Don't hesitate to email me at martengo or via if you have any questions regarding my Tang Lung PD statue or work process. Especially if you are following these steps as a guide to making your own statue.


Positive SSL